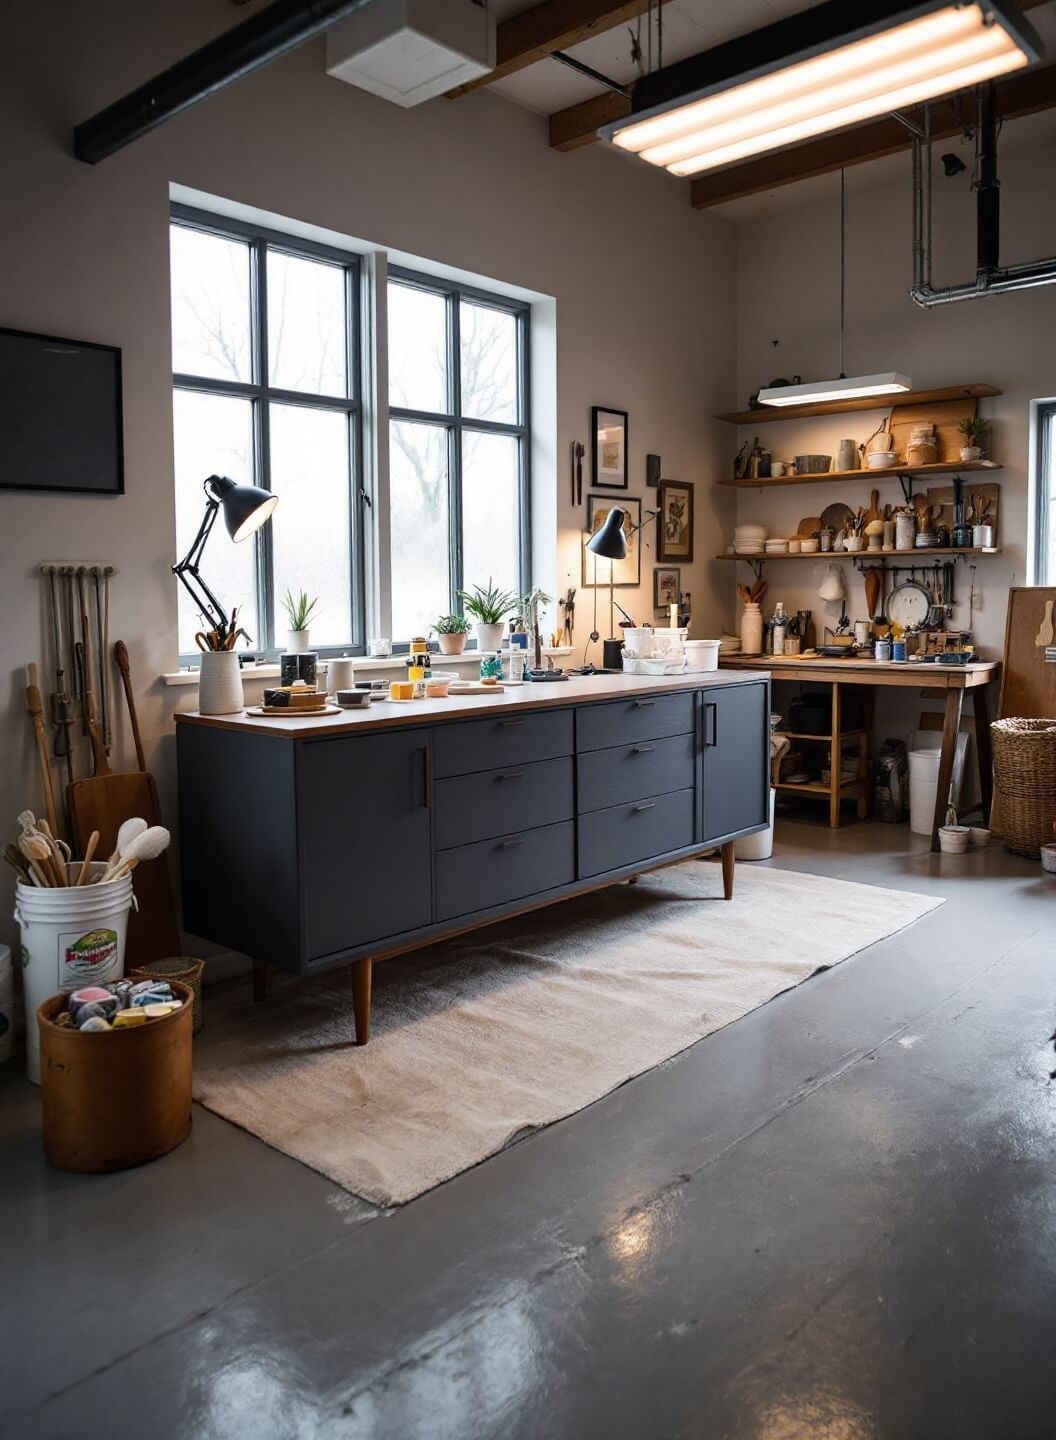
Transform Your Old Furniture into Stunning Pieces: A No-Nonsense Guide to Chalk Paint Magic
Hey there! I’m Sarah, an interior designer who’s transformed hundreds of furniture pieces with chalk paint. Let me show you exactly how to breathe new life into your tired furniture.
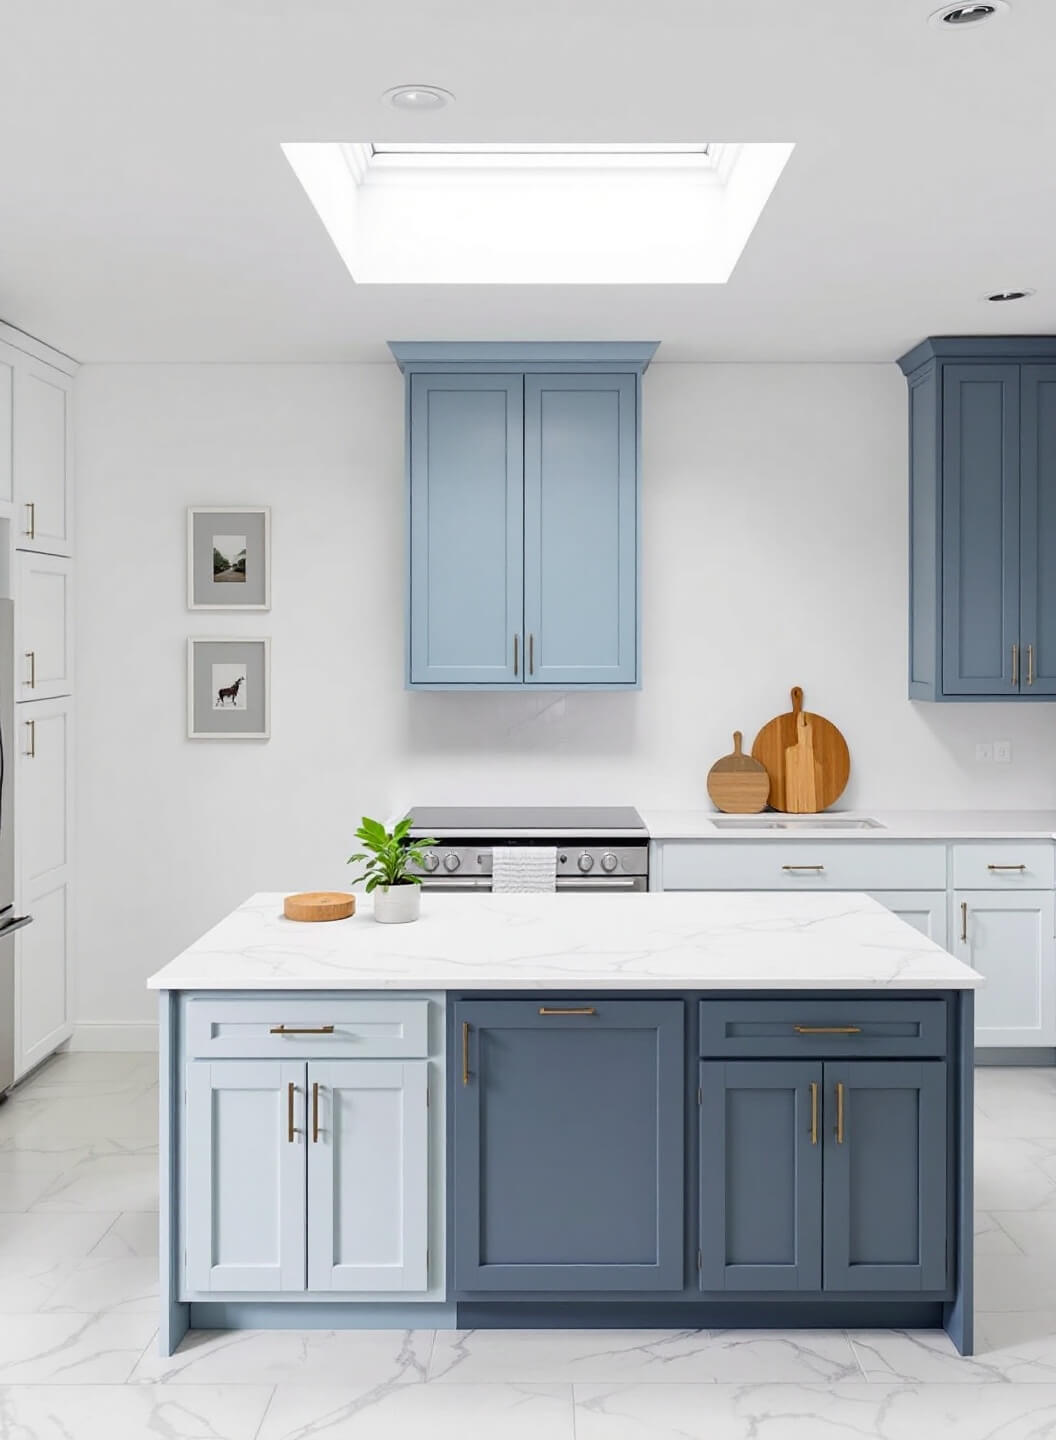
Why Choose Chalk Paint?
Chalk paint is a game-changer for DIY furniture transformations. Here’s why:
- No sanding required (usually)
- Sticks to most surfaces
- Dries quickly
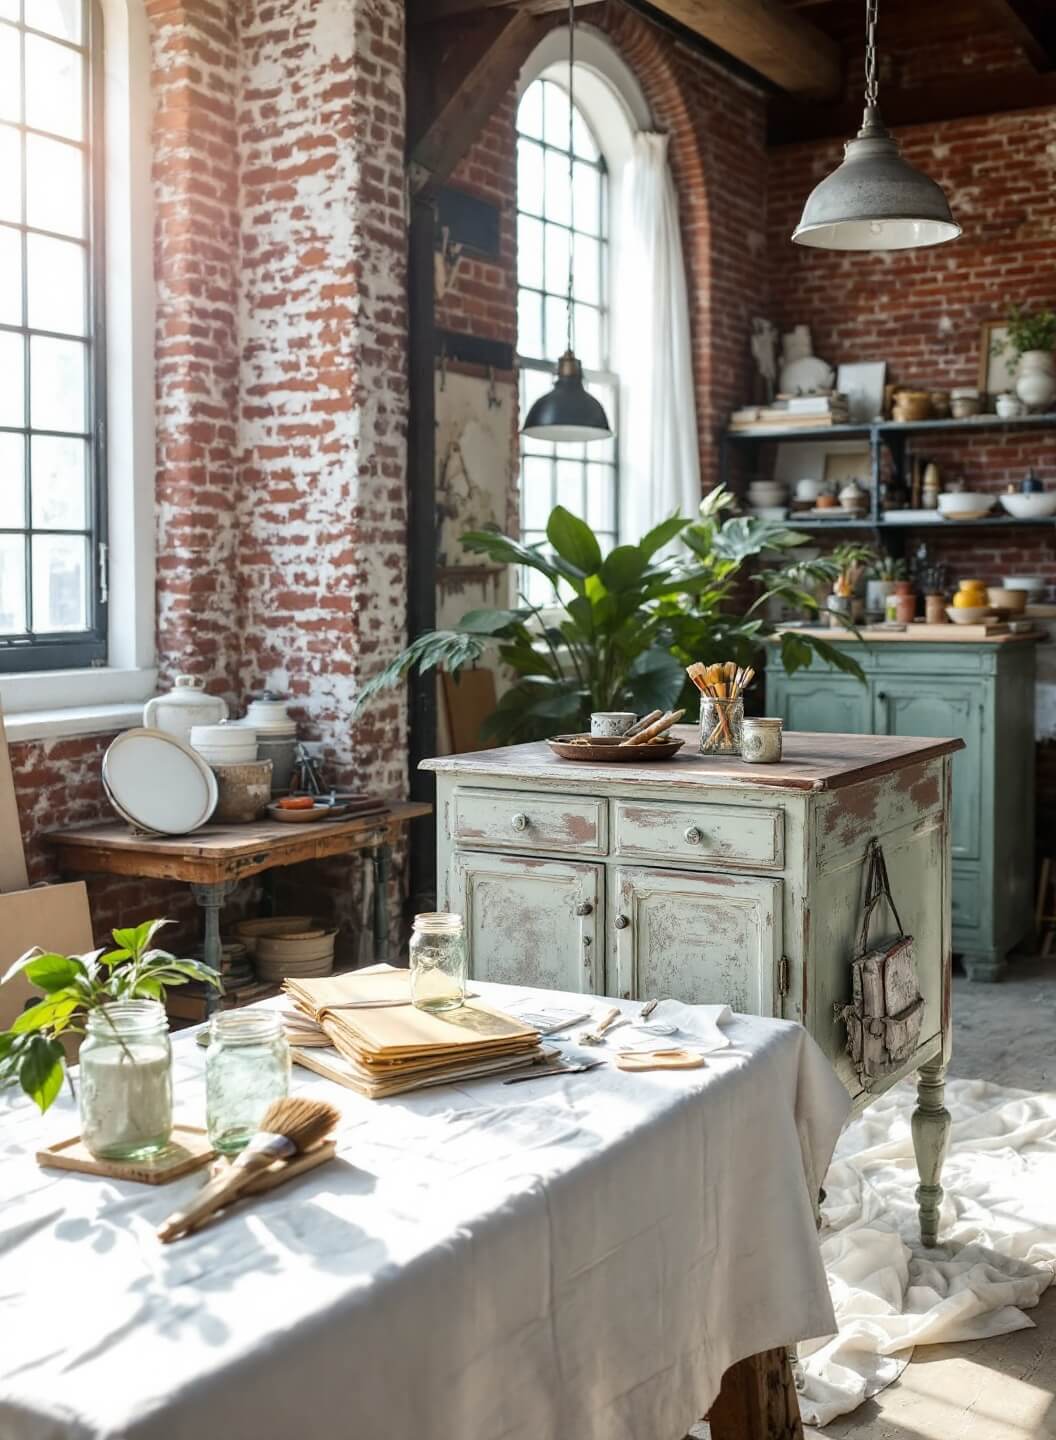
- Creates that gorgeous matte finish
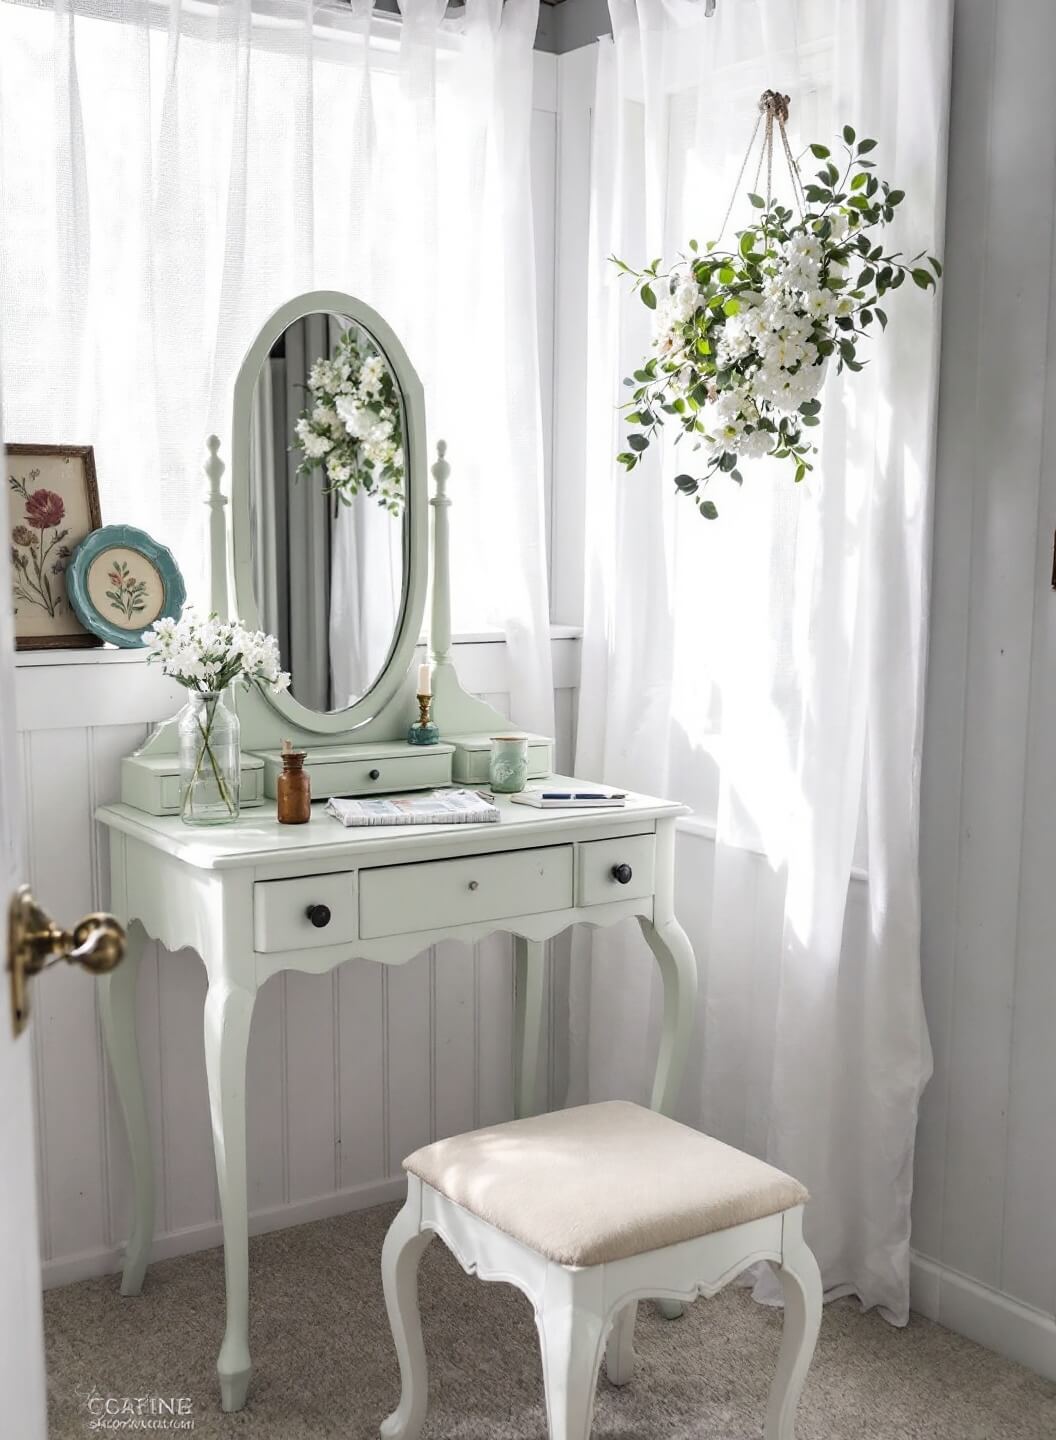
- Perfect for vintage and modern looks
Before You Start
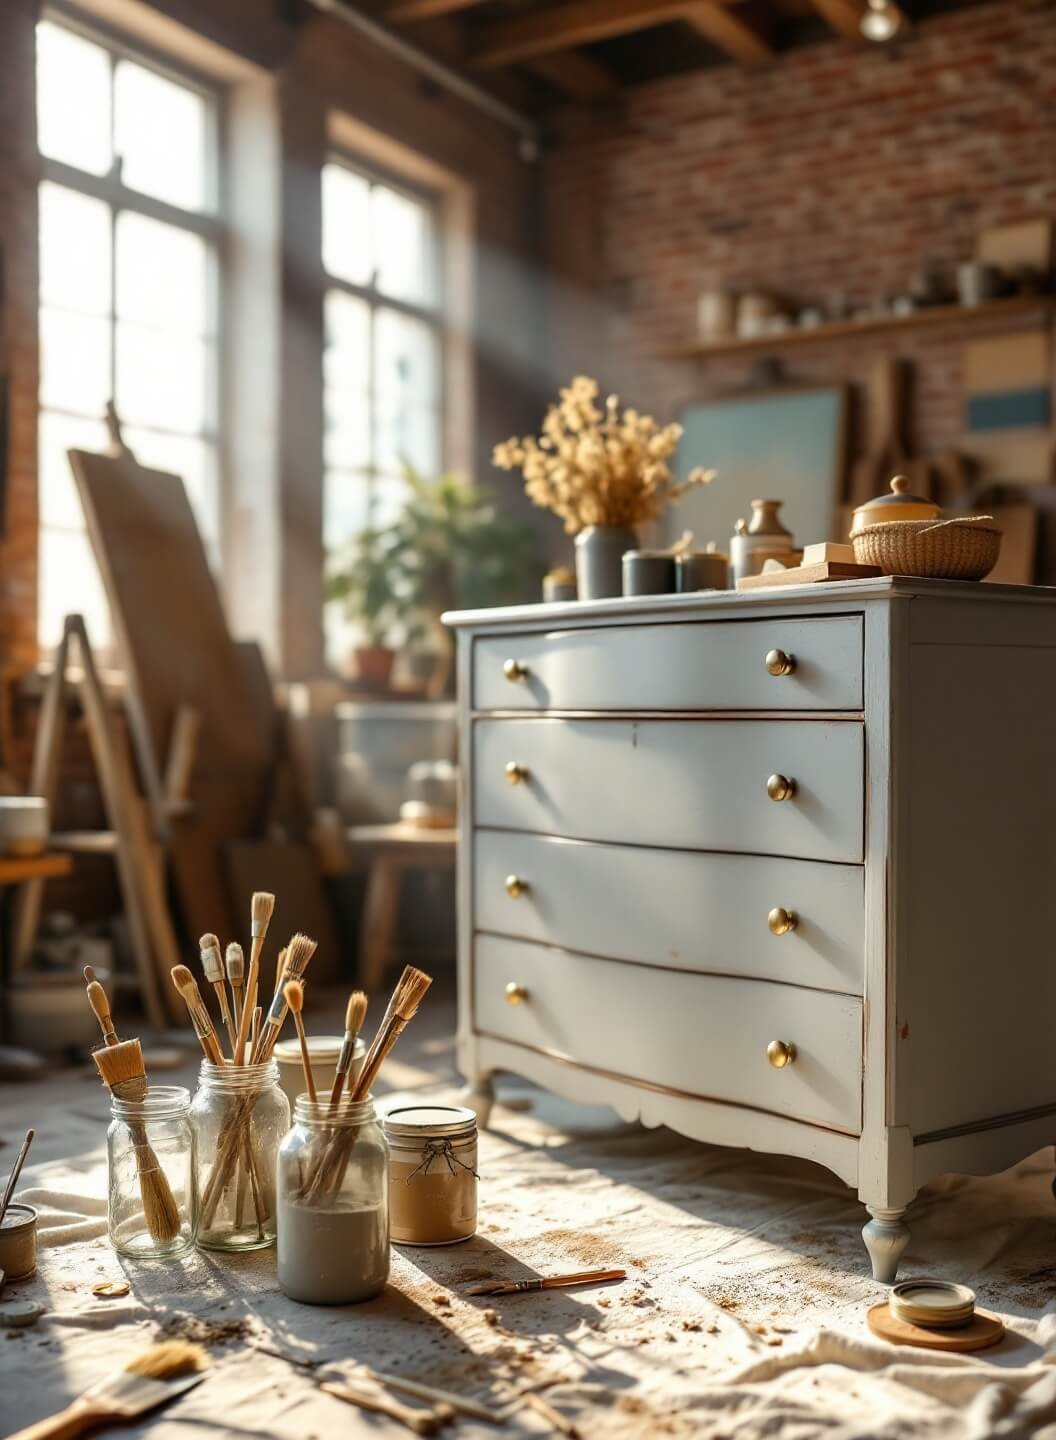
Let’s get real – preparation is everything. Here’s what you’ll need:
- Quality chalk paint
- Clean cloths
- Paint brushes (natural bristle works best)
- Wax or sealer
- Drop cloth
- Screwdriver (for removing hardware)
Step 1: Prep Like You Mean It
Strip that furniture down to basics:
- Remove all hardware (keep those screws in a safe place!)
- Wipe down with a damp cloth
- Let it dry completely
Pro Tip: For super glossy surfaces, a quick sand with 220-grit paper won’t hurt, but it’s not always necessary.
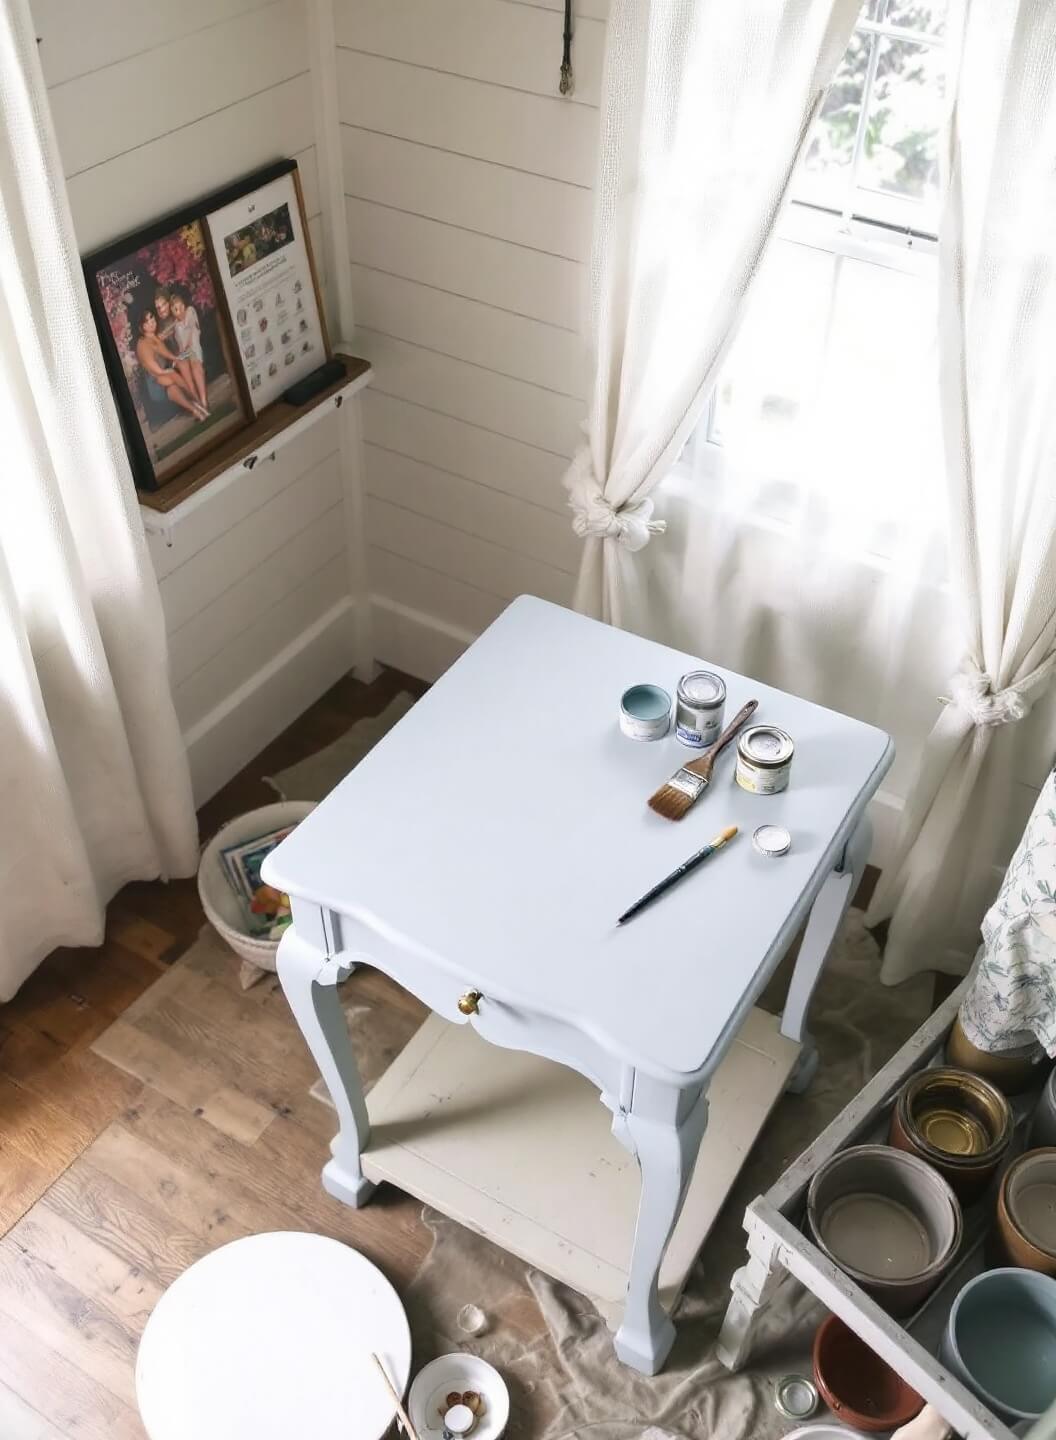
Step 2: Time to Paint
Here’s where the magic happens:
- Stir paint thoroughly (no shaking – creates bubbles)
- Apply thin coats in long, smooth strokes
- Let each coat dry (about 30 minutes)
- Usually needs 2-3 coats
My Secret Trick: Keep a spray bottle of water handy. If paint gets too thick, mist your brush slightly.
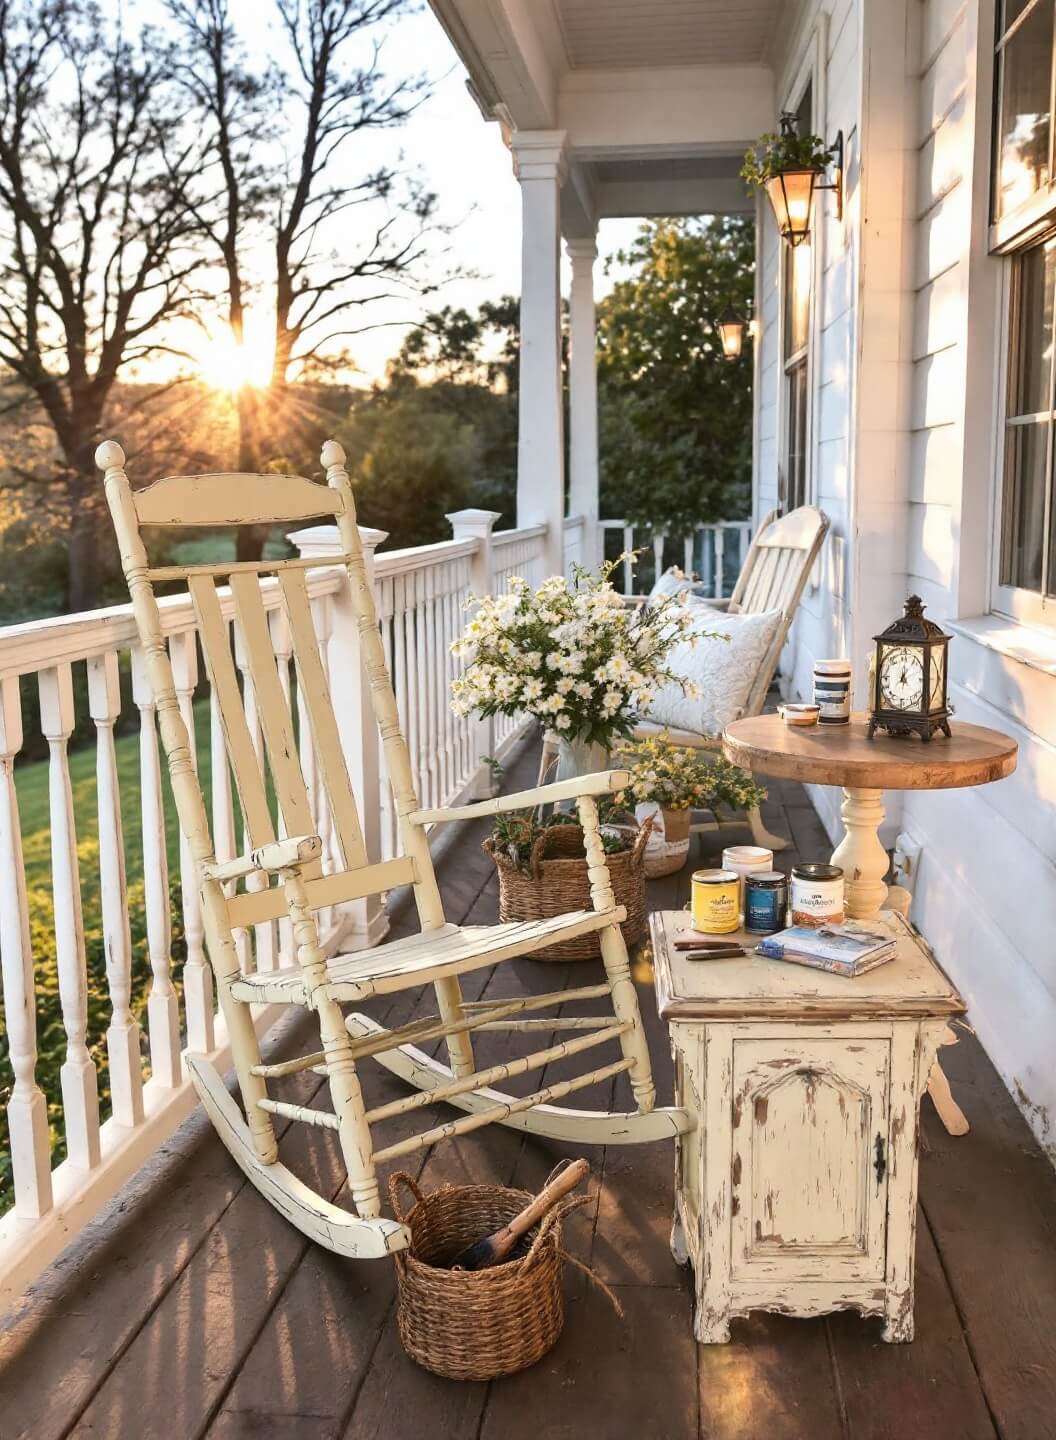
Step 3: The Fun Part – Distressing (Optional)
Want that lived-in look? After the paint dries:
- Lightly sand edges where natural wear occurs
- Focus on corners and high points
- Less is more – you can always distress more later
Step 4: Protect Your Work
Two options here:
Wax:
- Apply with a clean cloth in circular motions
- Work in small sections
- Buff after 10 minutes
- Full cure in 2 weeks
Sealer:
- Better for high-traffic pieces
- Apply with a brush
- Usually needs 2 coats
- Fully cured in 24 hours
Common Mistakes to Avoid:
- ❌ Skipping the cleaning step
- ❌ Using thick coats
- ❌ Rushing between coats
- ❌ Forgetting to protect your work surface
Bonus Tips From My Experience:
- Paint in the shade, not direct sun
- Keep your brush damp for smoother application
- Don’t panic about brush strokes – they add character
- Test colors on the furniture bottom first

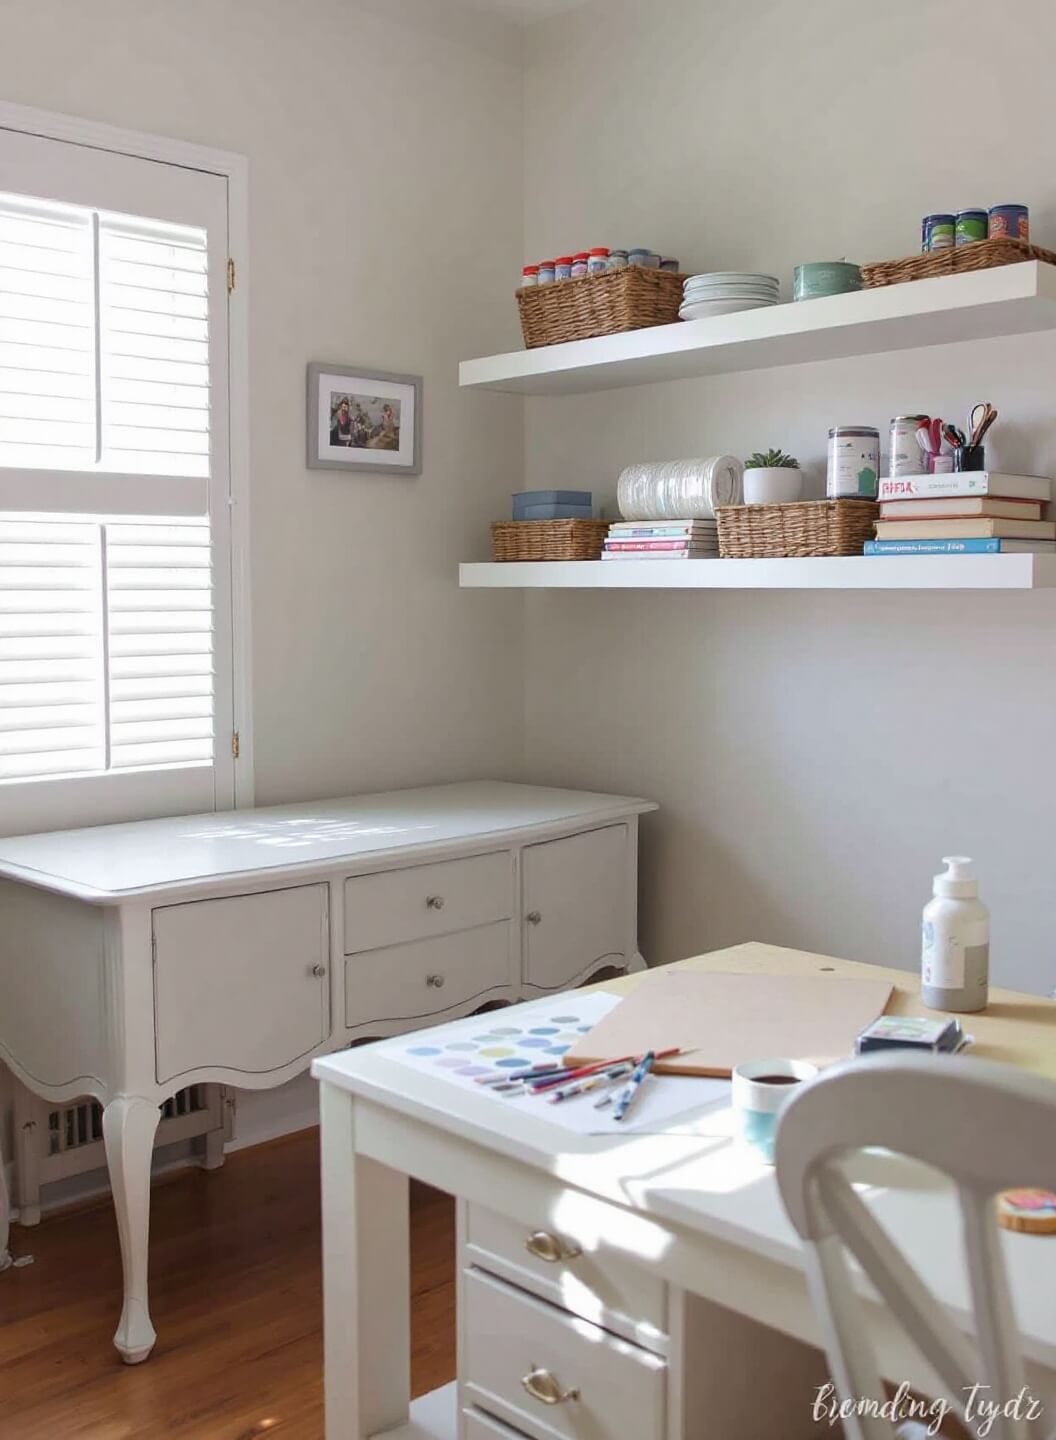
Final Thoughts:
Remember, perfect is boring. Those little imperfections? They’re what make your piece unique and charming.
Now get out there and start painting! Trust me, there’s nothing quite like the satisfaction of transforming a piece of furniture with your own hands.
Need more specific tips? Drop a comment below about your project, and I’ll help you troubleshoot!