How to Create a Stunning Gallery Wall Without Using Nails: A Renter’s Guide
Let me share my experience creating gorgeous gallery walls without putting a single hole in my walls.
The No-Nail Gallery Wall Essentials
Before we dive in, here’s what you’ll need:
- Command strips (various sizes)
- Level tool
- Measuring tape
- Clean cloth
- Pencil
- Eraser
- Layout paper (optional)
Getting Started: The Prep Work
First things first – clean those walls! I learned this the hard way – dirty walls make adhesive strips useless. Wipe down your wall surface with a slightly damp cloth. Let it dry completely.
Planning Your Layout
Here’s my foolproof method:
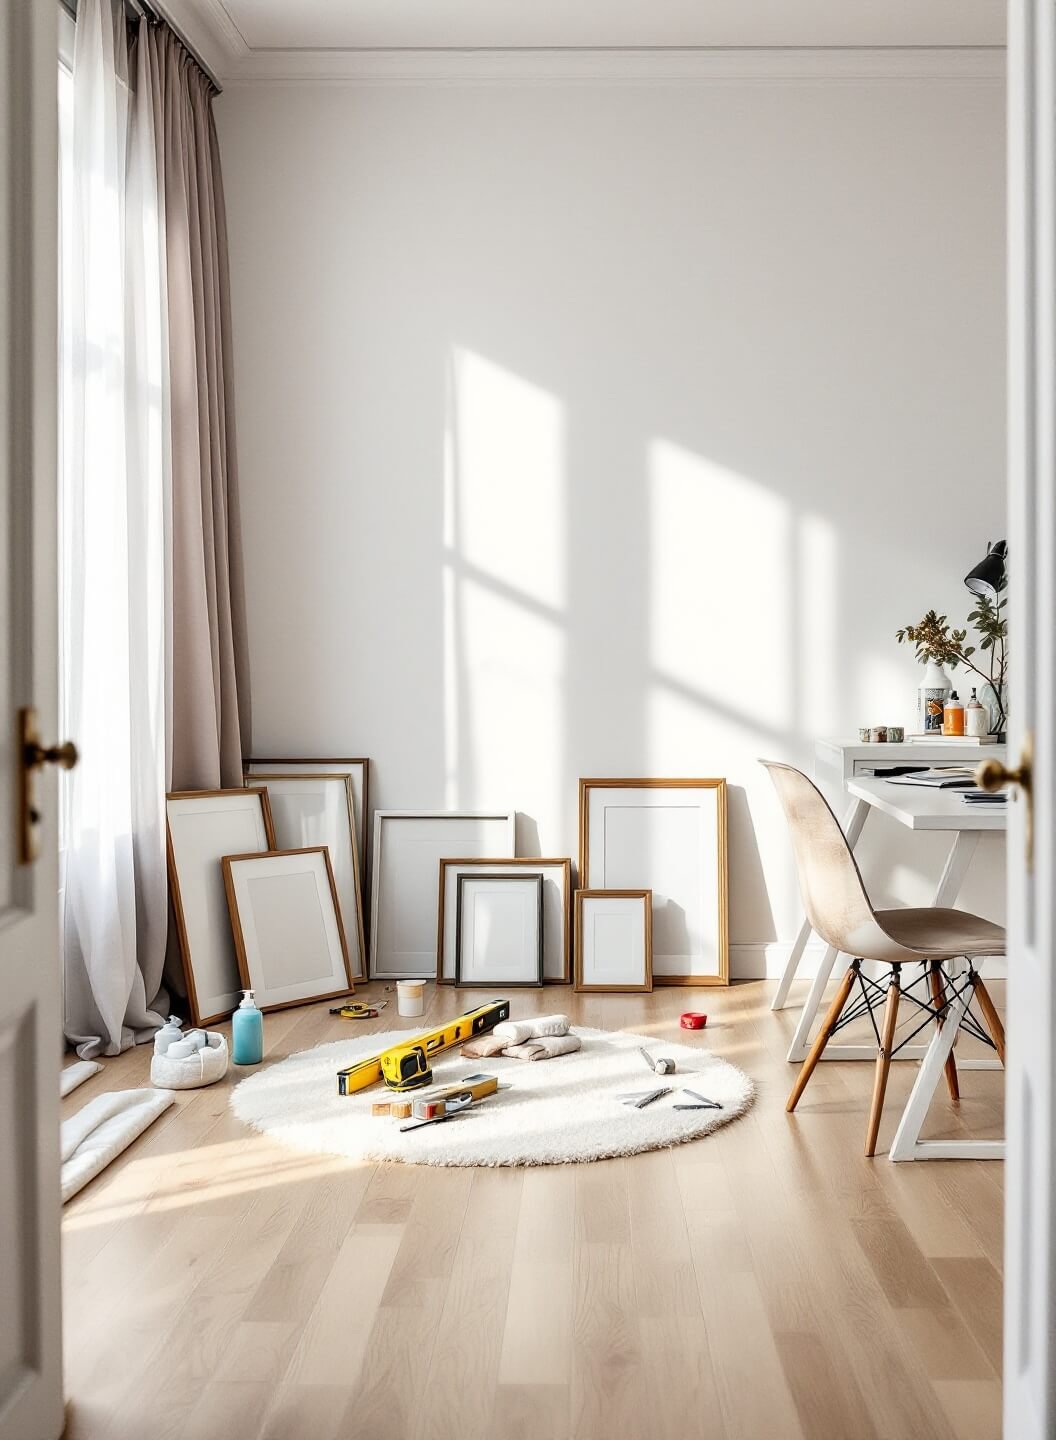
- Lay all your frames on the floor
- Arrange them until you love the pattern
- Take a photo for reference
- Measure the total space needed
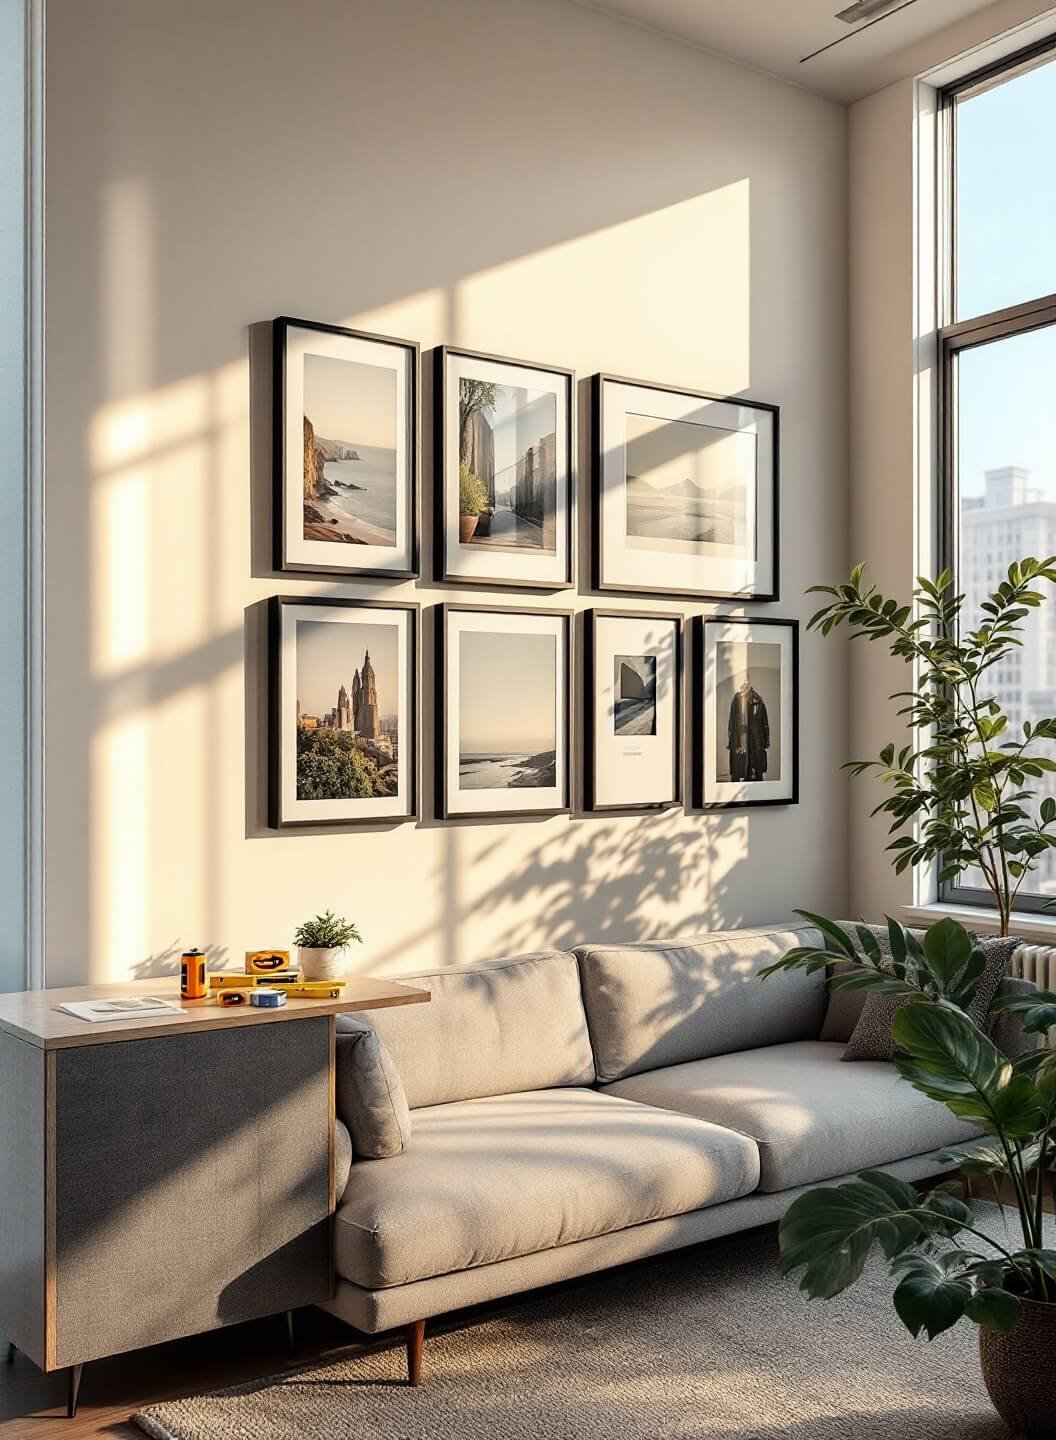
Pro Tip: I always start with the largest piece as my anchor and work outward.
Choosing Your Adhesive
Here’s what I’ve found works best:
- Light frames (up to 3lbs): Small Command strips
- Medium frames (3-8lbs): Medium Command strips
- Heavy frames (8-16lbs): Large Command strips or multiple medium strips
The Hanging Process
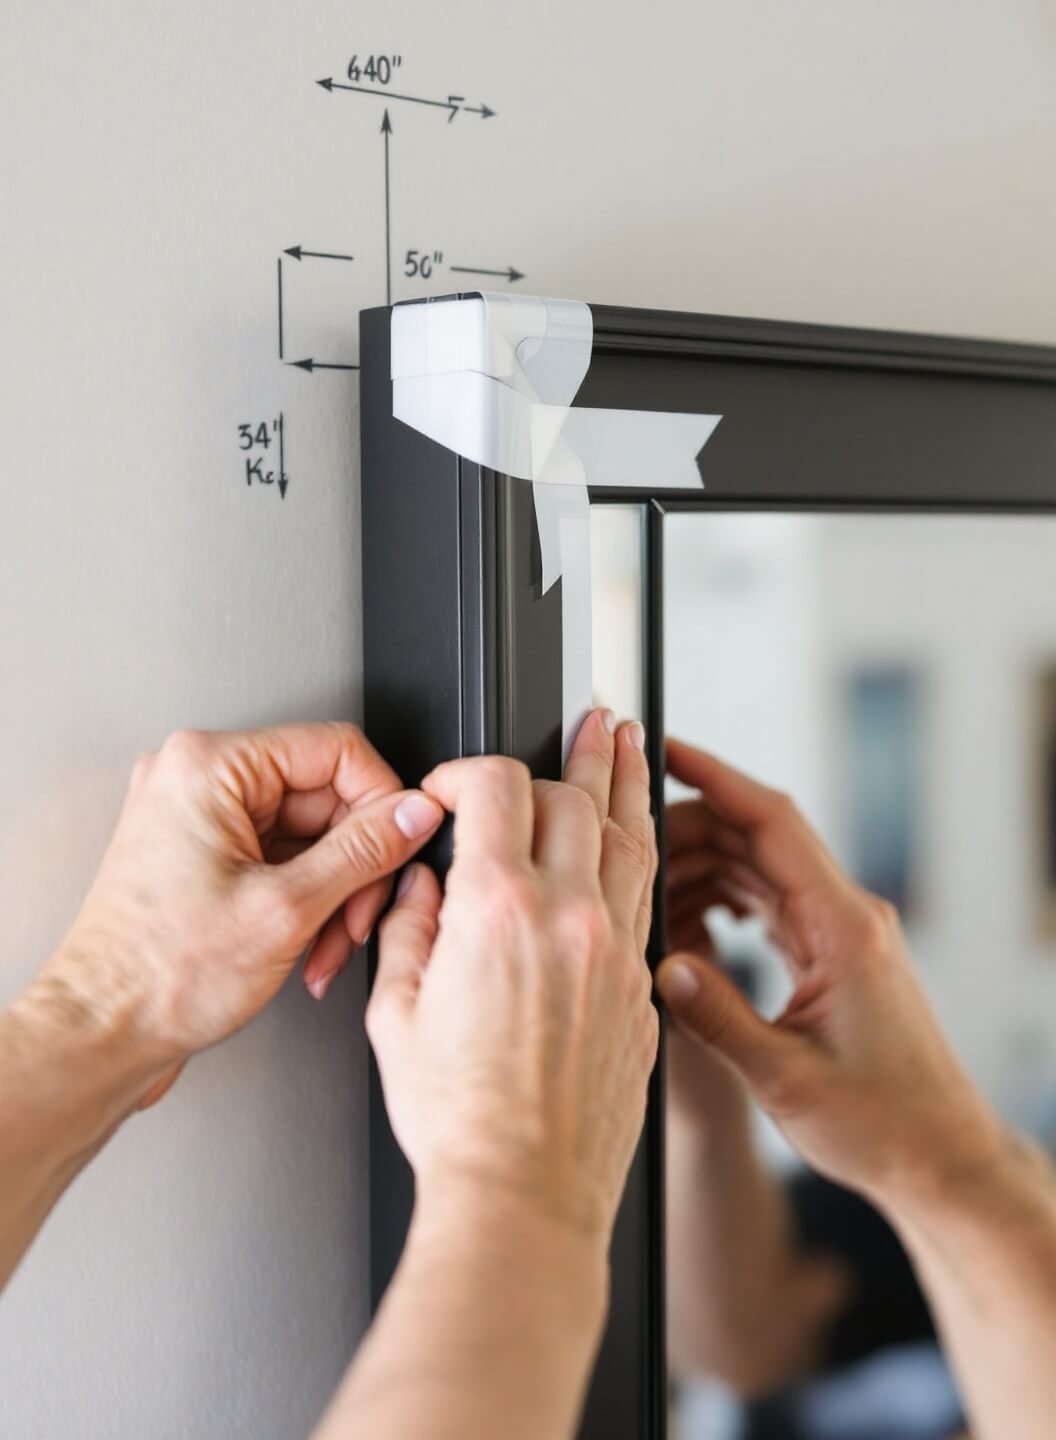
Step 1: Mark Your Starting Point
- Measure your wall space
- Find the center point
- Use your level to draw a light pencil line
Step 2: Prep Your Frames
- Clean the back of each frame
- Apply Command strips to corners
- Remove protective backing
Step 3: Hang with Confidence
- Start with your anchor piece
- Press firmly for 30 seconds
- Use your level constantly
- Work outward systematically
My Top Gallery Wall Tips
What I’ve Learned Works Best:
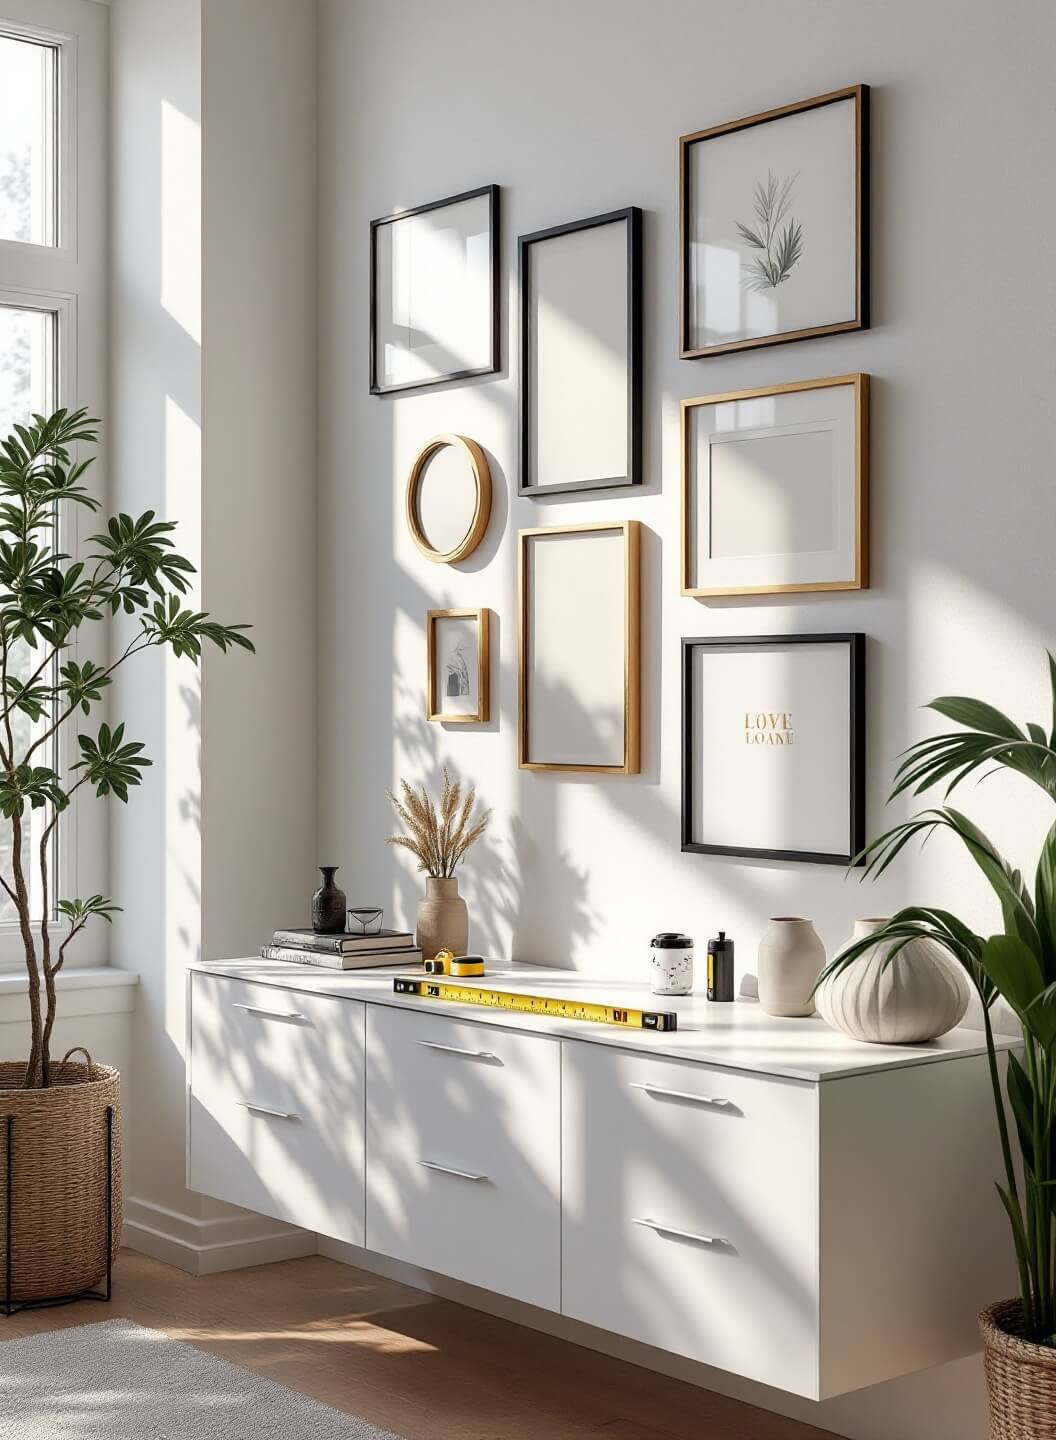
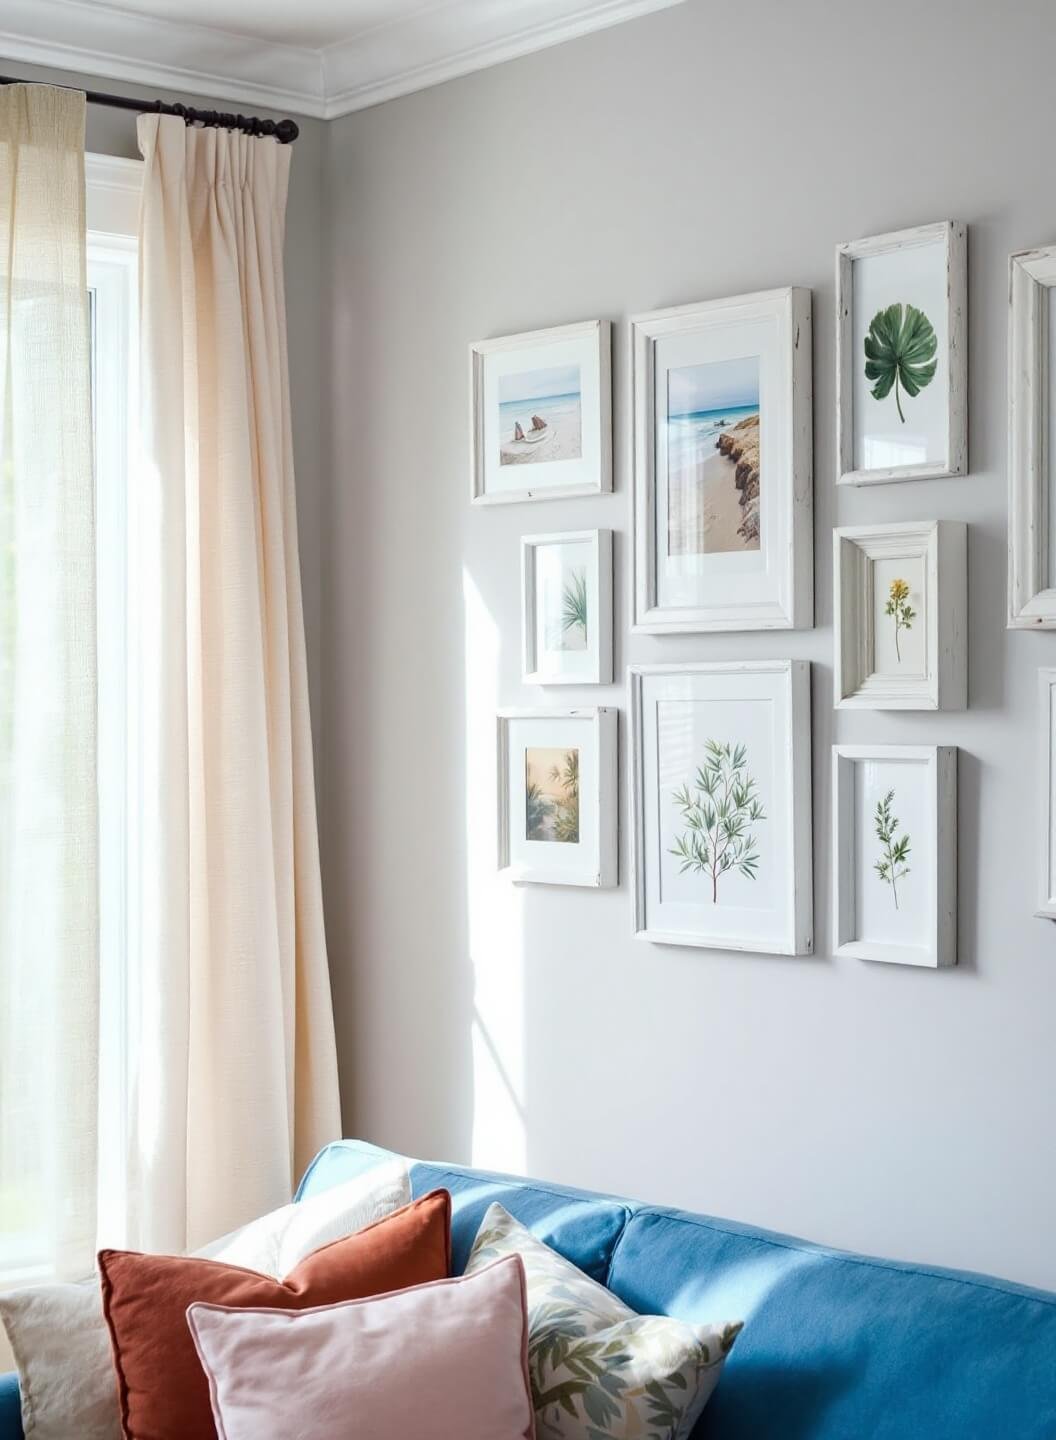
- Leave 2-3 inches between frames
- Mix portrait and landscape orientations
- Vary frame sizes for visual interest
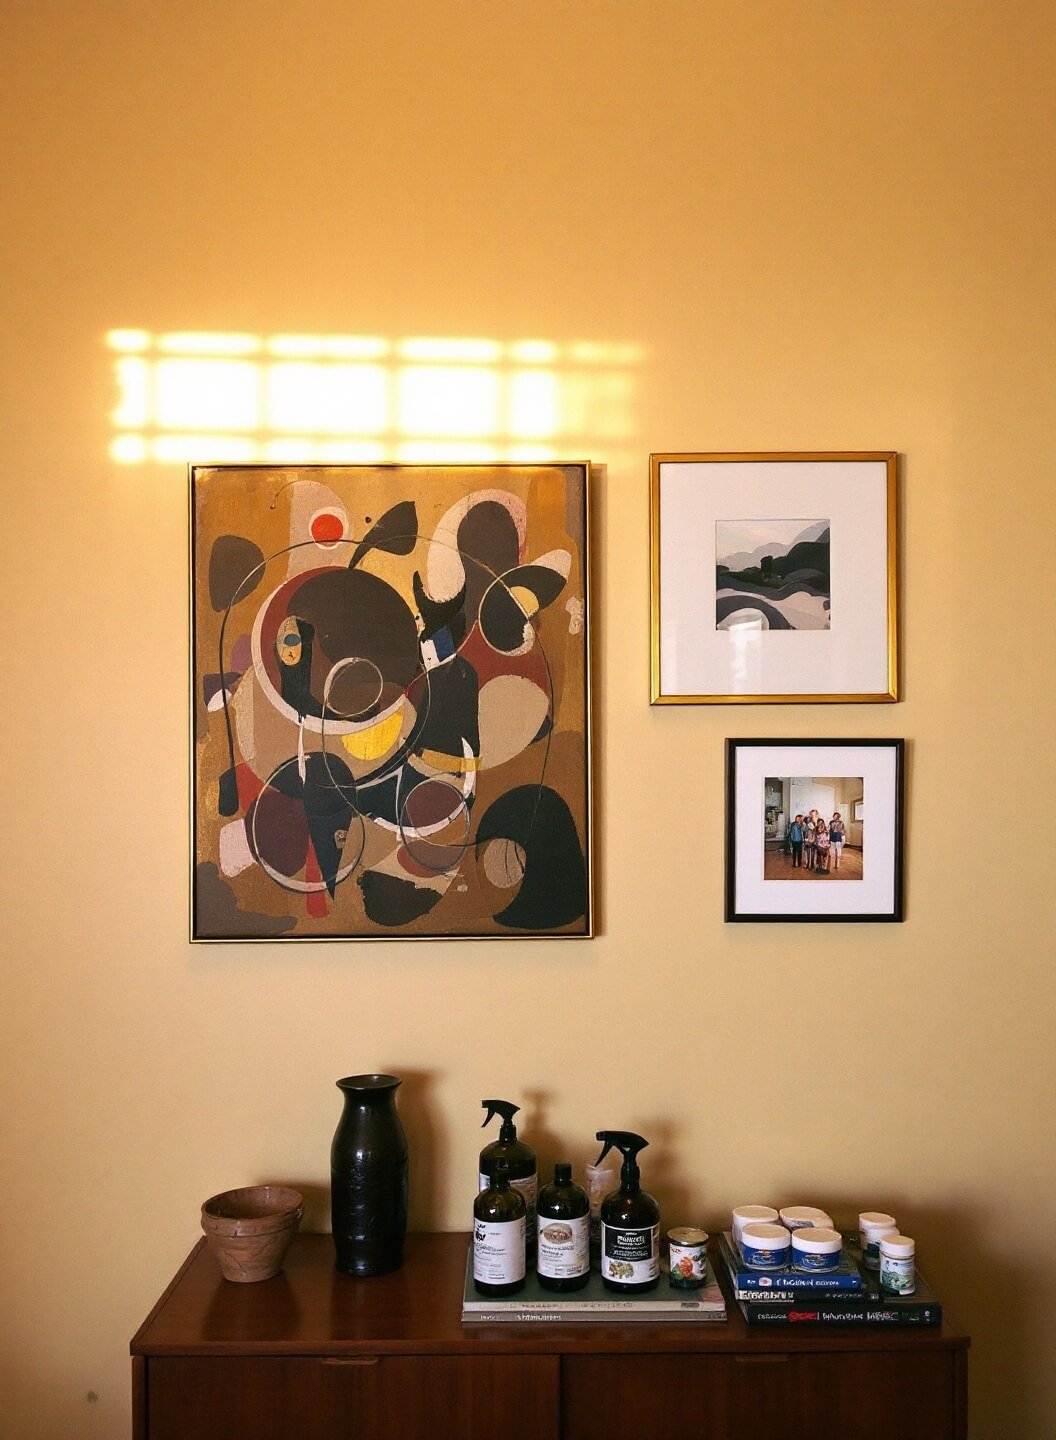
- Keep style consistent (all black frames or mixed metals, etc.)
Common Mistakes to Avoid
Trust me, I’ve made these:
- Skipping the cleaning step
- Using too few adhesive strips
- Eyeballing instead of measuring
- Rushing the process
Quick Troubleshooting
If Your Frames Keep Falling:
- Double-check weight limits
- Clean surfaces again
- Apply pressure longer
- Use additional strips
When to Remove and Adjust
The beauty of this method? You can easily adjust without wall damage. Wait 24 hours before making changes. Remove strips by stretching, never pulling straight out.
Ready to get started? With these tips, you’ll have a professional-looking gallery wall without compromising your security deposit. Remember, patience is key – this isn’t a rush job, but the results are worth it!