Creating a Professional Family Photo Wall: A Complete Guide That Actually Works
Ever stared at a blank wall thinking, “I want to display my family photos, but where do I even start?”
I’ve been there, and after designing countless photo walls for both clients and my own home, I’ve cracked the code to making it look professional without breaking the bank.
The Secret Sauce to a Stunning Photo Wall
First things first – you’ll need:
- A clean, well-lit wall space
- 5-15 favorite family photos
- Coordinating frames
- Basic hanging tools
- 3-5 hours of free time
Pro Tip: Don’t rush to hammer those nails! Planning is your best friend here.
Getting Started: The Fun Part
Choose Your Style:
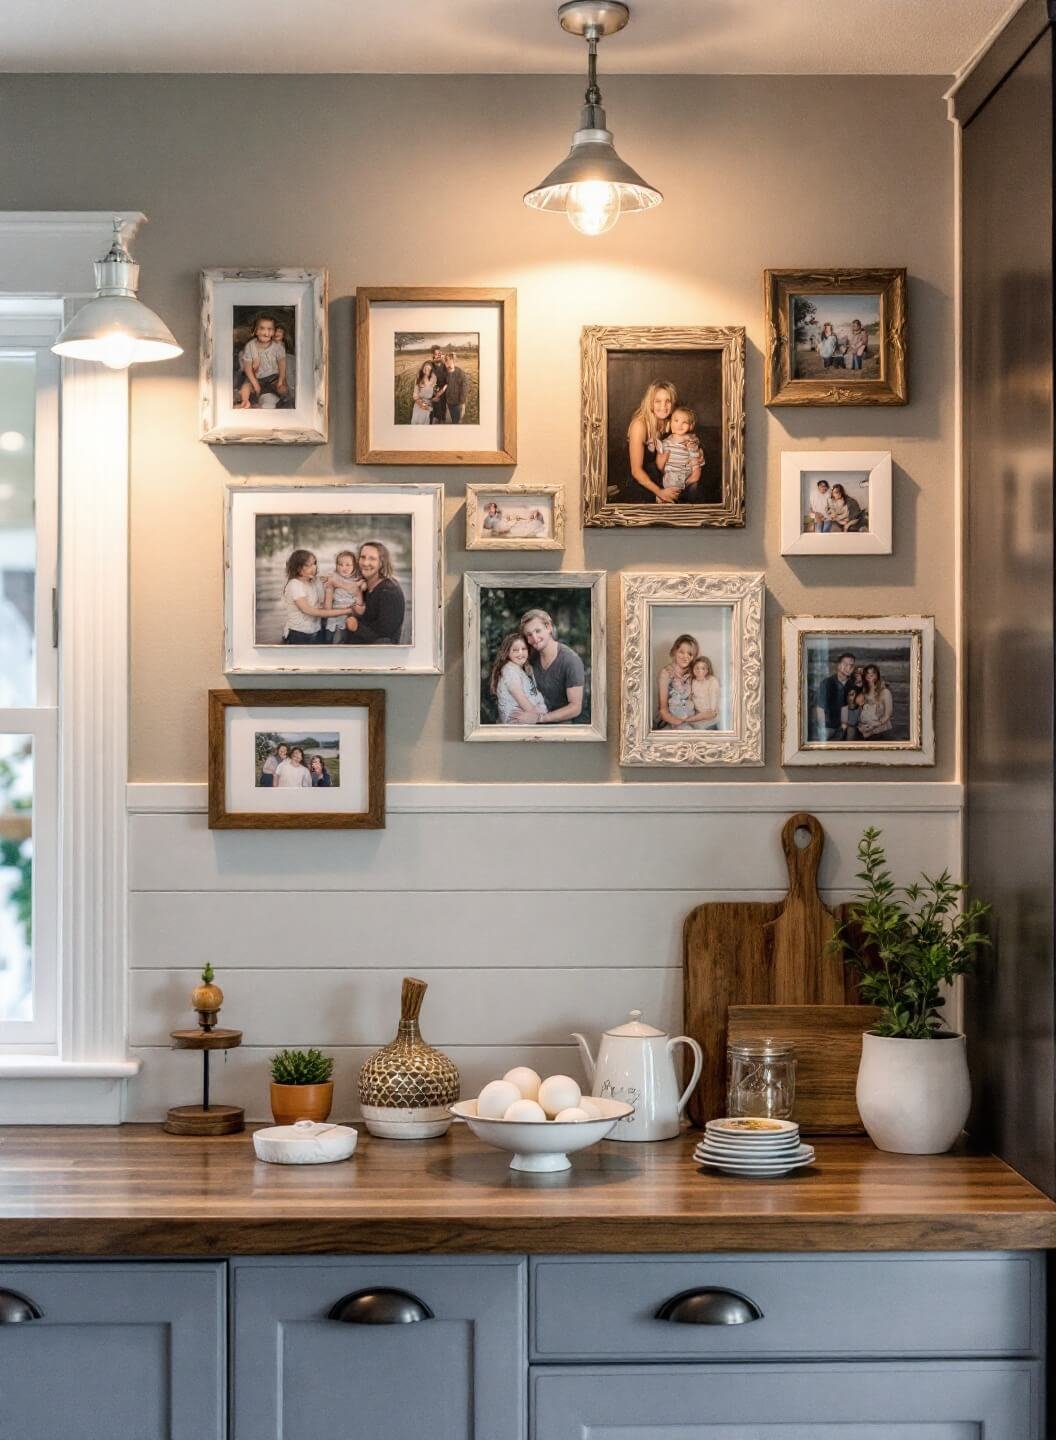
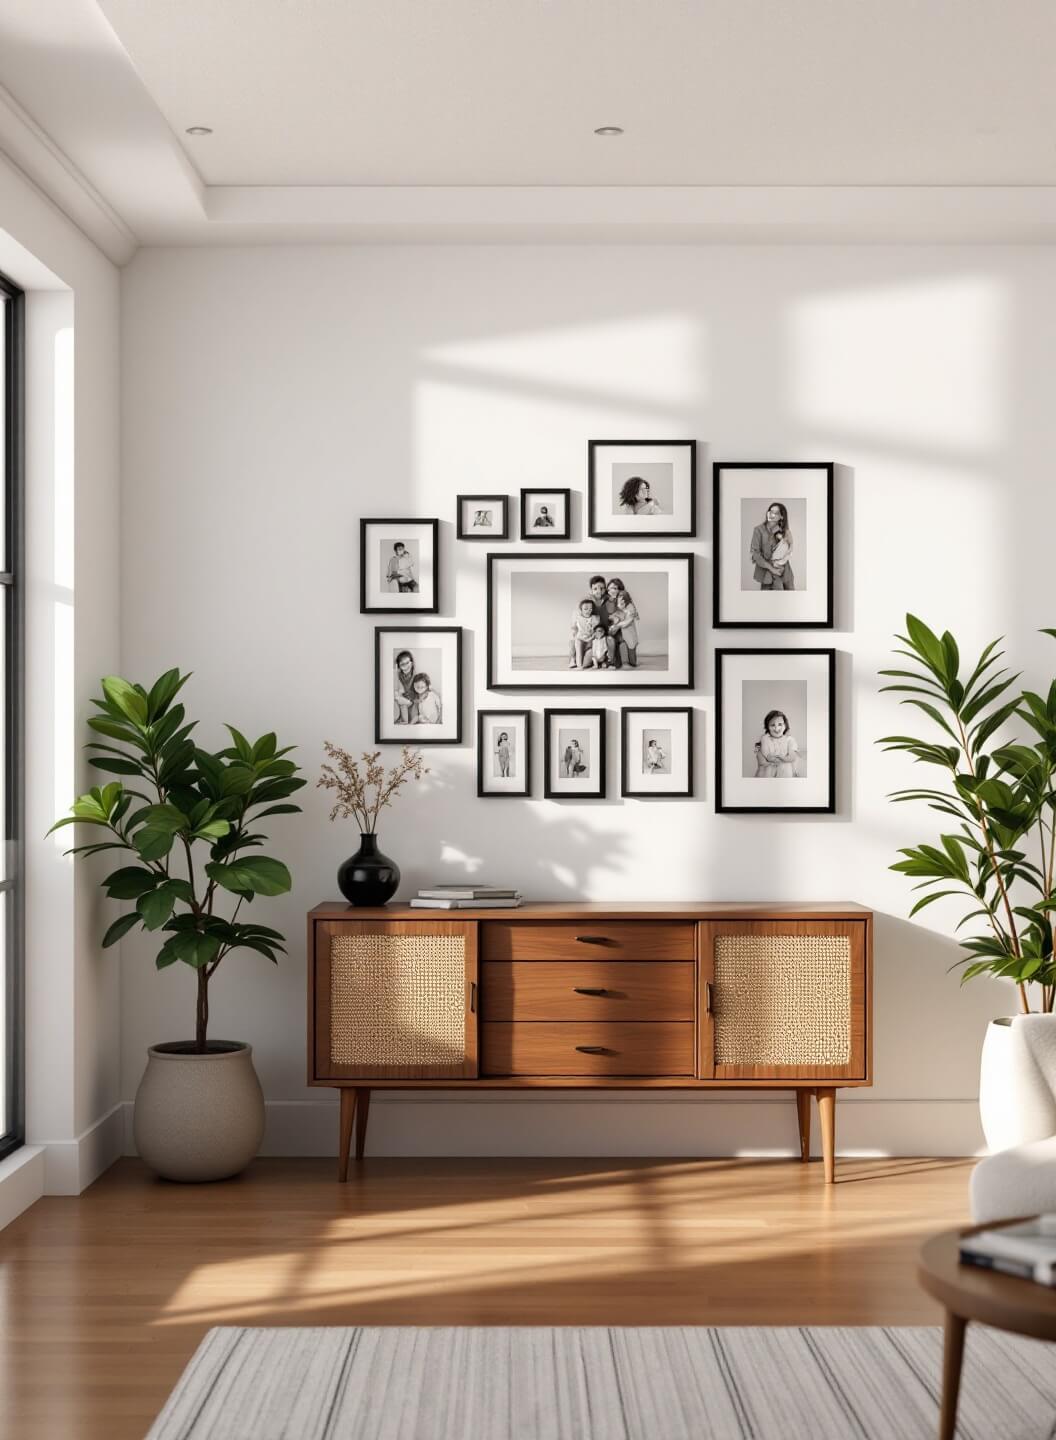
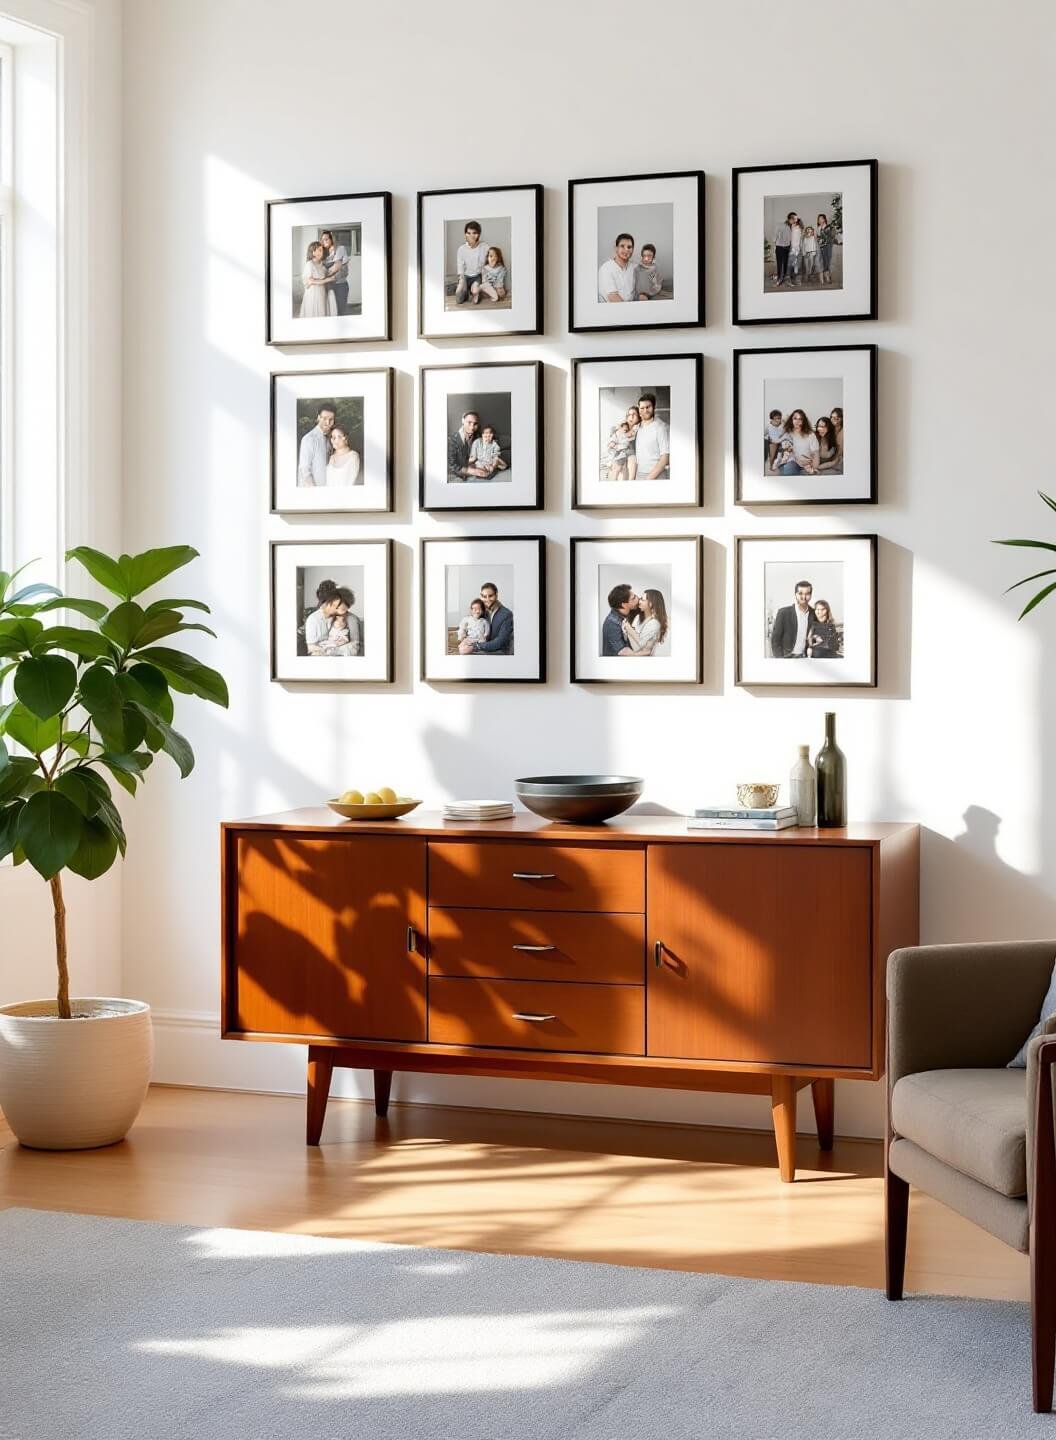
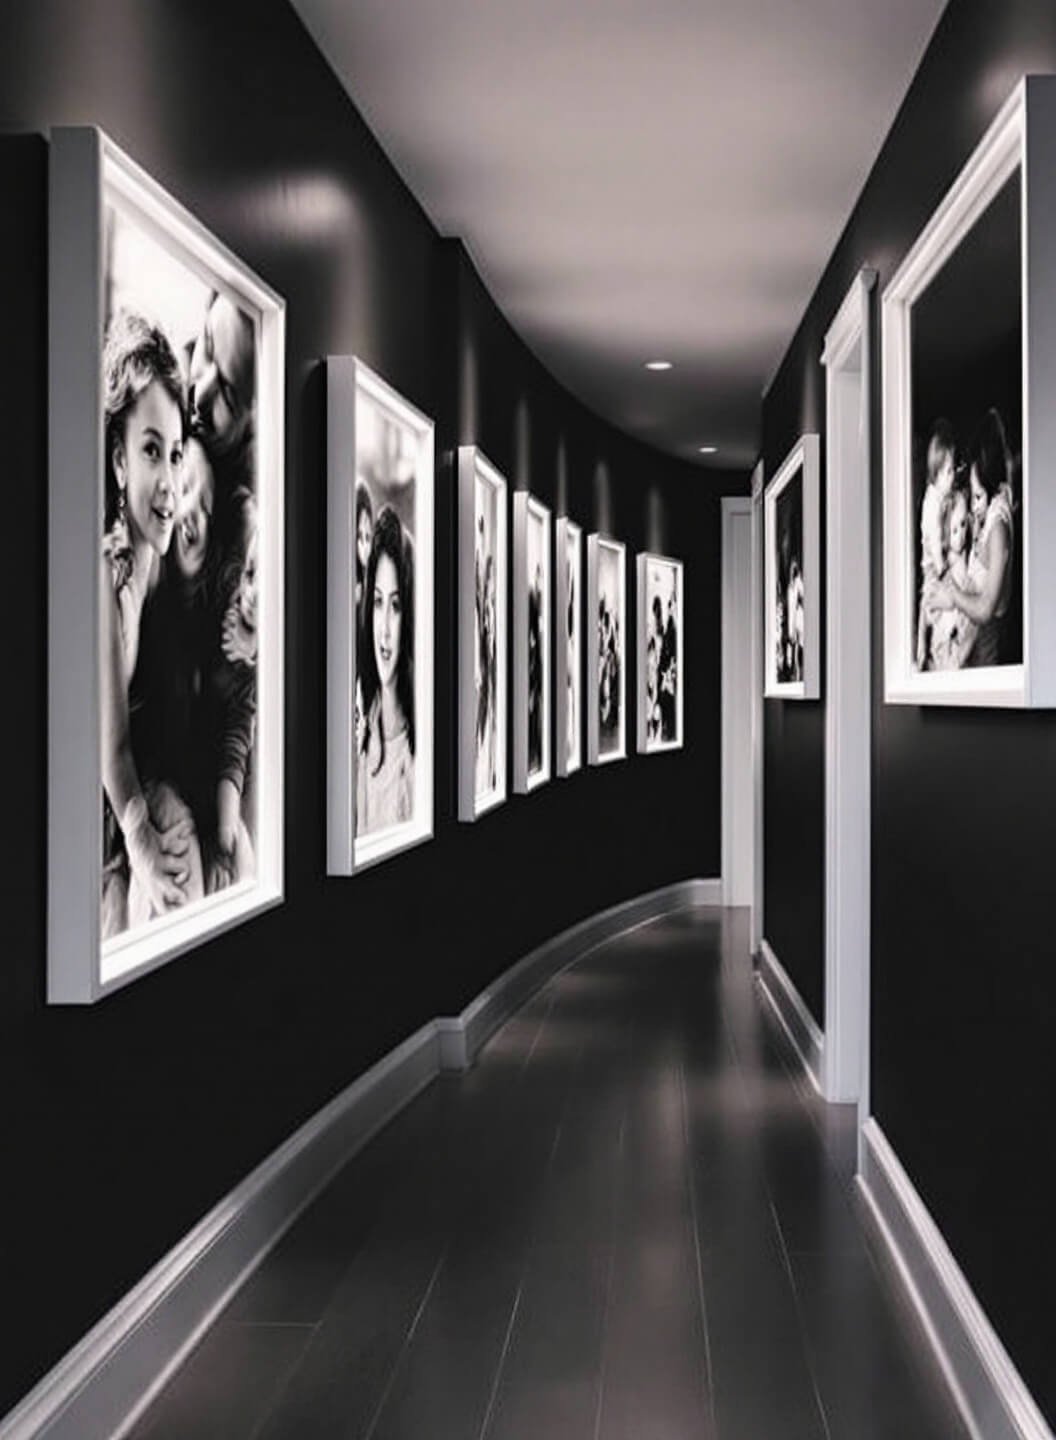
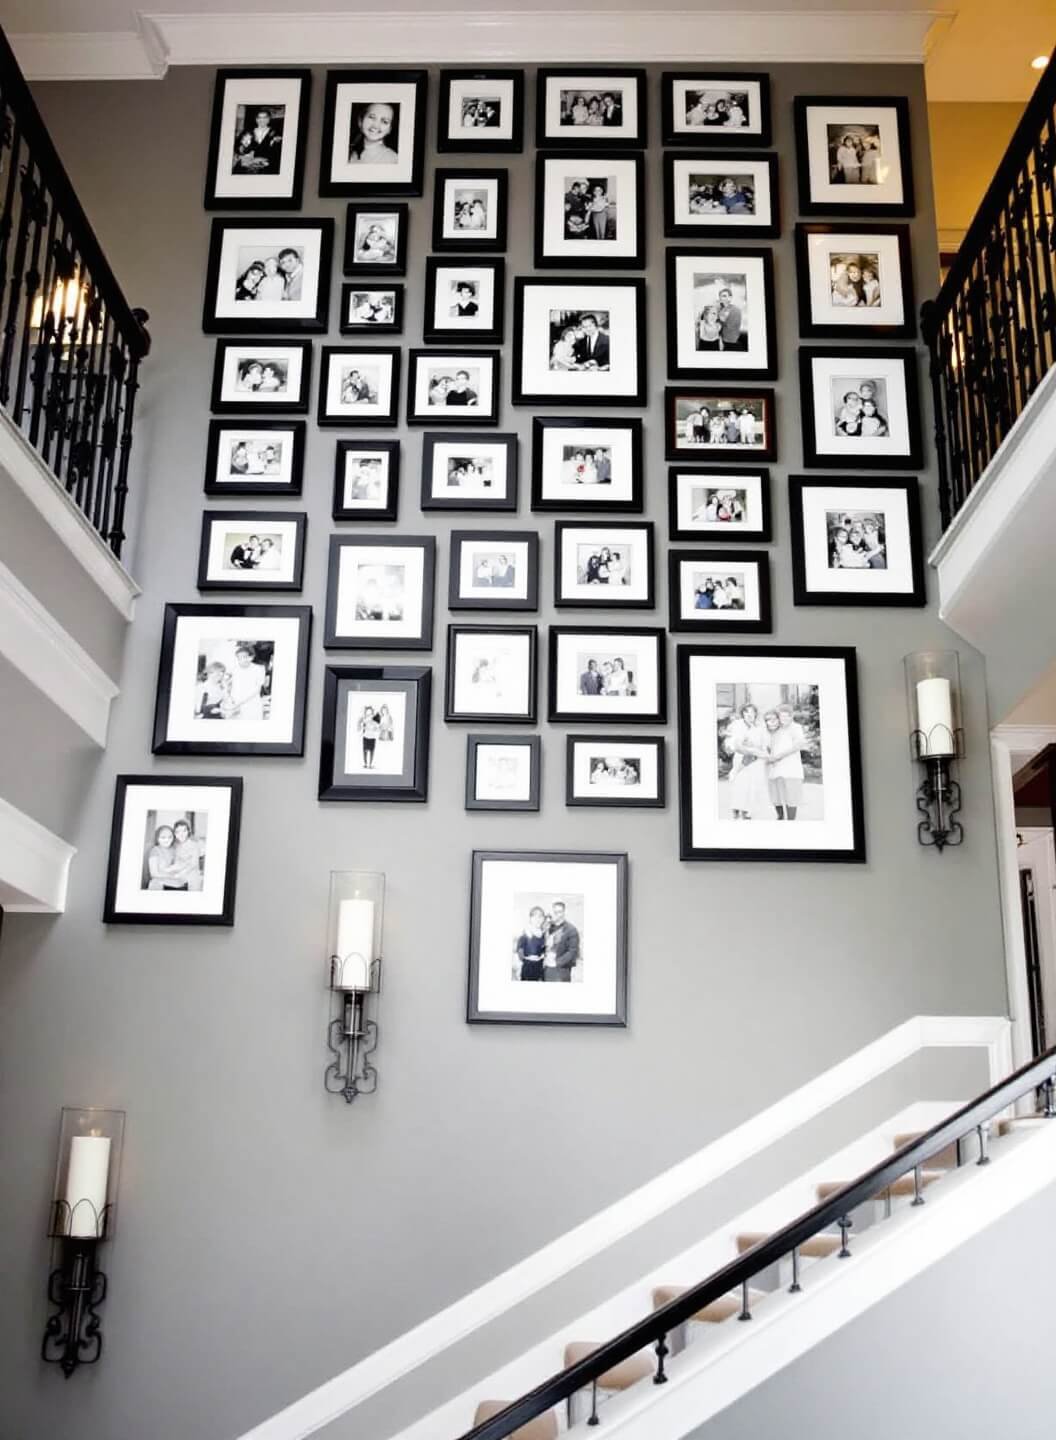
- Classic: Matching frames, symmetrical layout
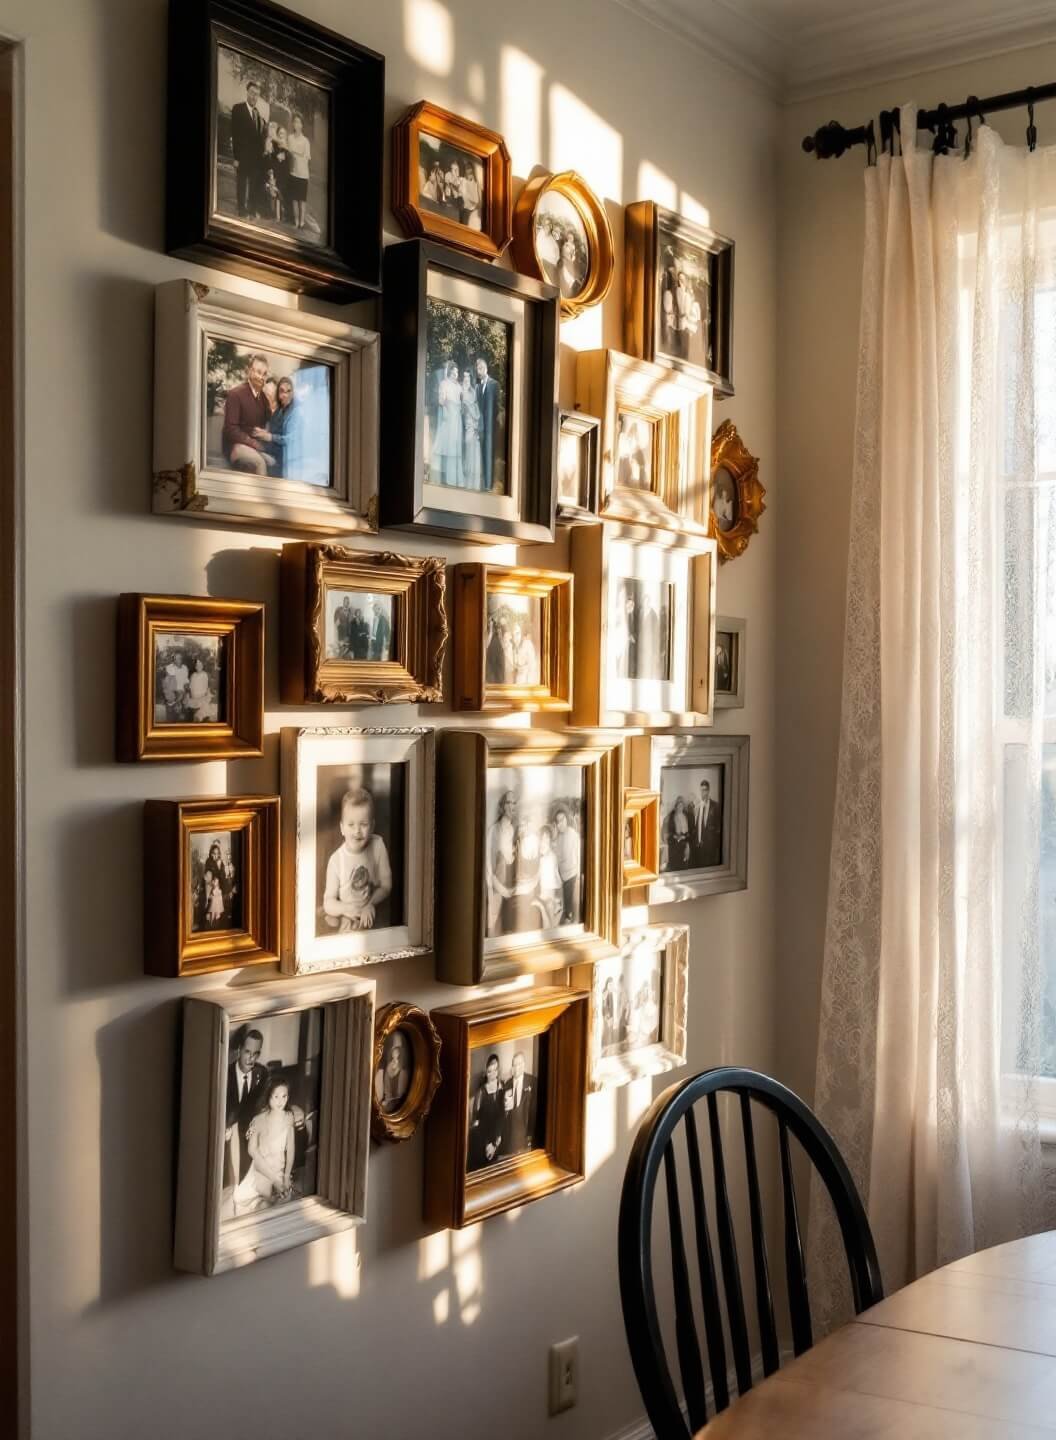
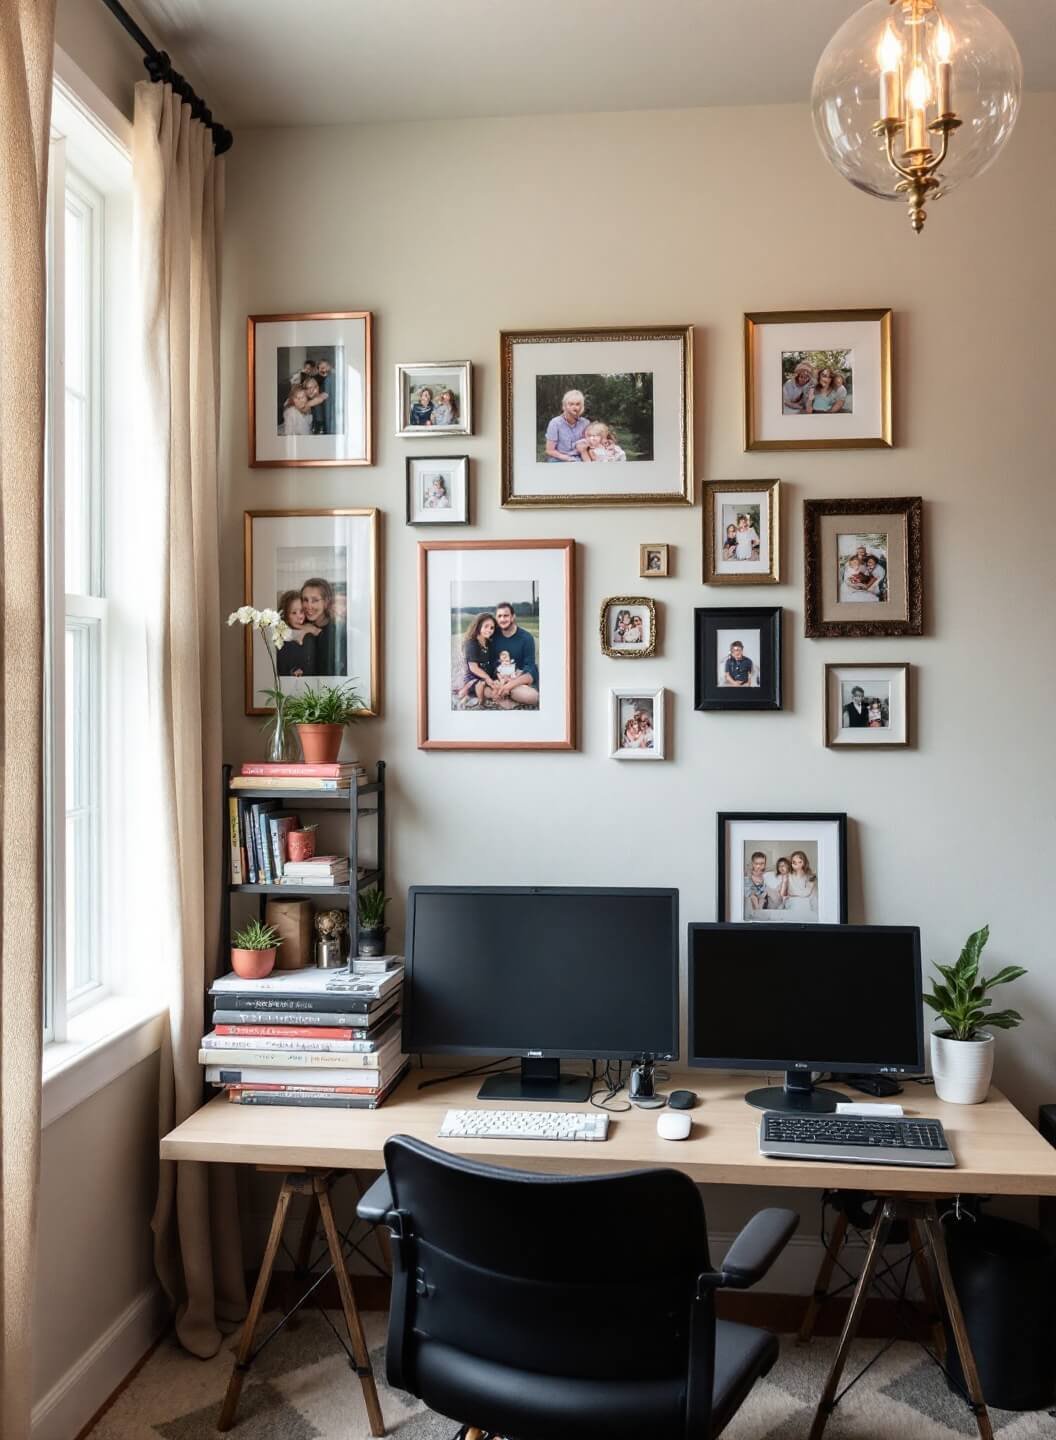
- Eclectic: Mixed frames, organic arrangement
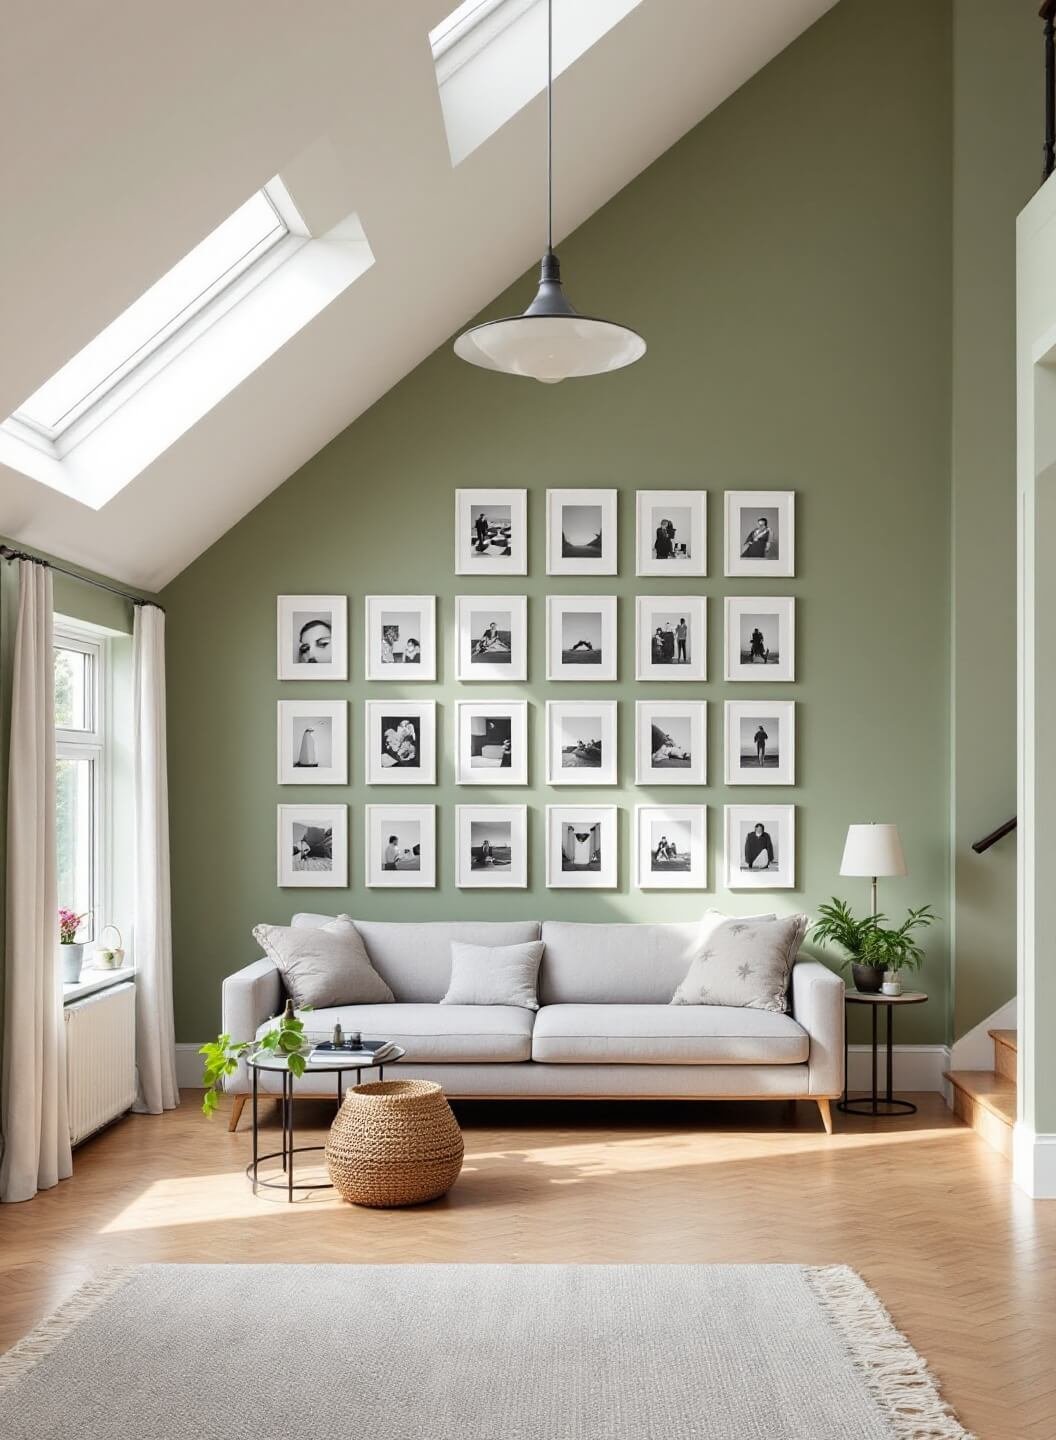
- Modern: Clean lines, minimal frames
- Rustic: Weathered wood frames, casual spacing
My Personal Success Formula:
- Select photos that tell a story
- Choose frames that complement your room’s style
- Create a paper template for each frame
- Test layouts on the floor first
Budget-Friendly Frame Shopping:
- IKEA RIBBA frames: $5-20
- Target Room Essentials: $10-30
- Thrift stores (amazing deals!)
- Amazon Basics: $15-25
The Layout Magic
Here’s what I’ve learned works best:
- Start with a large focal point photo
- Build outward symmetrically
- Keep 2-3 inches between frames
- Mix portrait and landscape orientations
Avoid These Common Mistakes:
- ❌ Hanging too high
- ❌ Using tiny photos
- ❌ Inconsistent spacing
- ❌ Poor quality prints
Pro Installation Tips:
- Use a laser level
- Start in the center
- Double-check measurements
- Use proper wall anchors
My Secret Weapon: Test your layout on the floor first and snap a photo. It’s easier to adjust before anything hits the wall!
Seasonal Updates
Keep your display fresh by:
- Swapping photos quarterly
- Adding holiday-themed pieces
- Updating frame colors seasonally
- Including recent family moments
The Final Touch
Light it right:
- Natural light is best
- Consider picture lights
- Avoid direct sunlight
- Use anti-glare glass
Remember: A professional-looking photo wall isn’t about perfection – it’s about telling your family’s story in a visually appealing way.
Cost Breakdown:
- Basic setup: $50-100
- Mid-range: $100-150
- Premium: $150-200+
Your photo wall should make you smile every time you walk by. If it doesn’t, keep tweaking until it does.
Got questions? Drop them in the comments below – I’d love to help you create your perfect family photo wall!