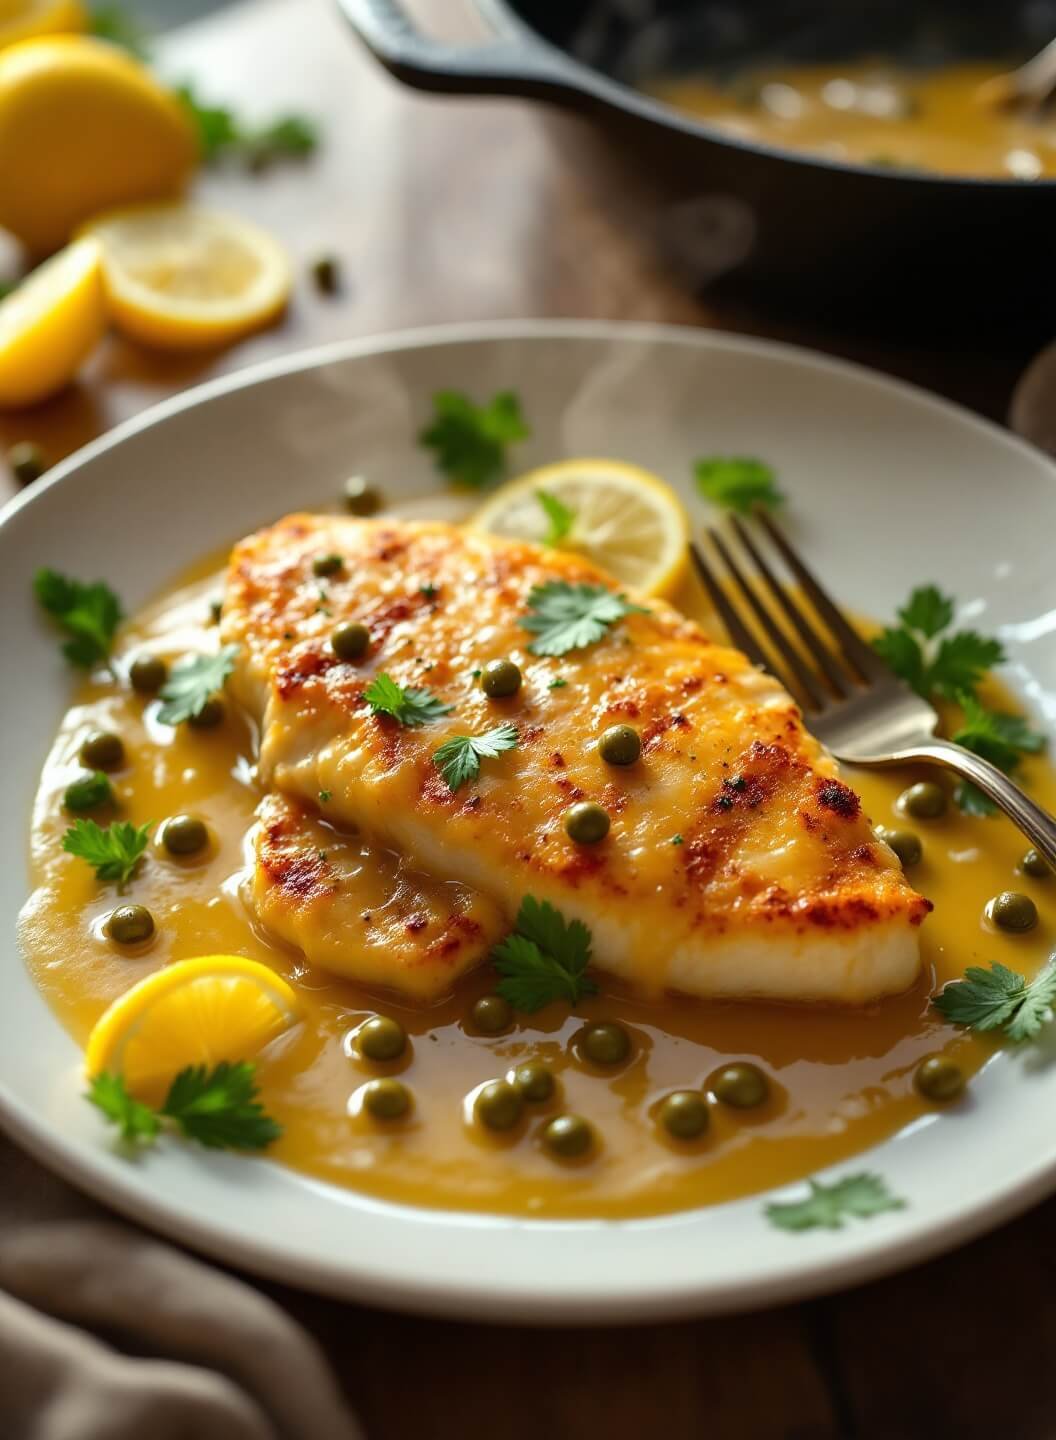
Classic Chicken Piccata Recipe
A restaurant-quality Italian chicken dish ready in just 20 minutes
KEY INFO
- Prep Time: 10 minutes
- Cook Time: 10 minutes
- Total Time: 20 minutes
- Servings: 4
- Difficulty: Easy
- Dietary: Can be made gluten-free
EQUIPMENT NEEDED
- Large skillet or frying pan
- Meat mallet (or rolling pin)
- Shallow dish for dredging
- Kitchen tongs
- Sharp knife and cutting board
INGREDIENTS
For the Chicken:
- 2 large chicken breasts (about 1.5 lbs/680g), halved horizontally
- ½ cup (60g) all-purpose flour [or gluten-free flour]
- 2 tablespoons (30ml) olive oil
- Salt and freshly ground black pepper
For the Sauce:
- 3 tablespoons (45g) unsalted butter
- 1 shallot, finely chopped
- 2 garlic cloves, minced
- ⅓ cup (80ml) dry white wine [or chicken broth]
- 2 tablespoons (30ml) fresh lemon juice
- 2 tablespoons capers, drained
- ¼ cup fresh parsley, chopped
METHOD
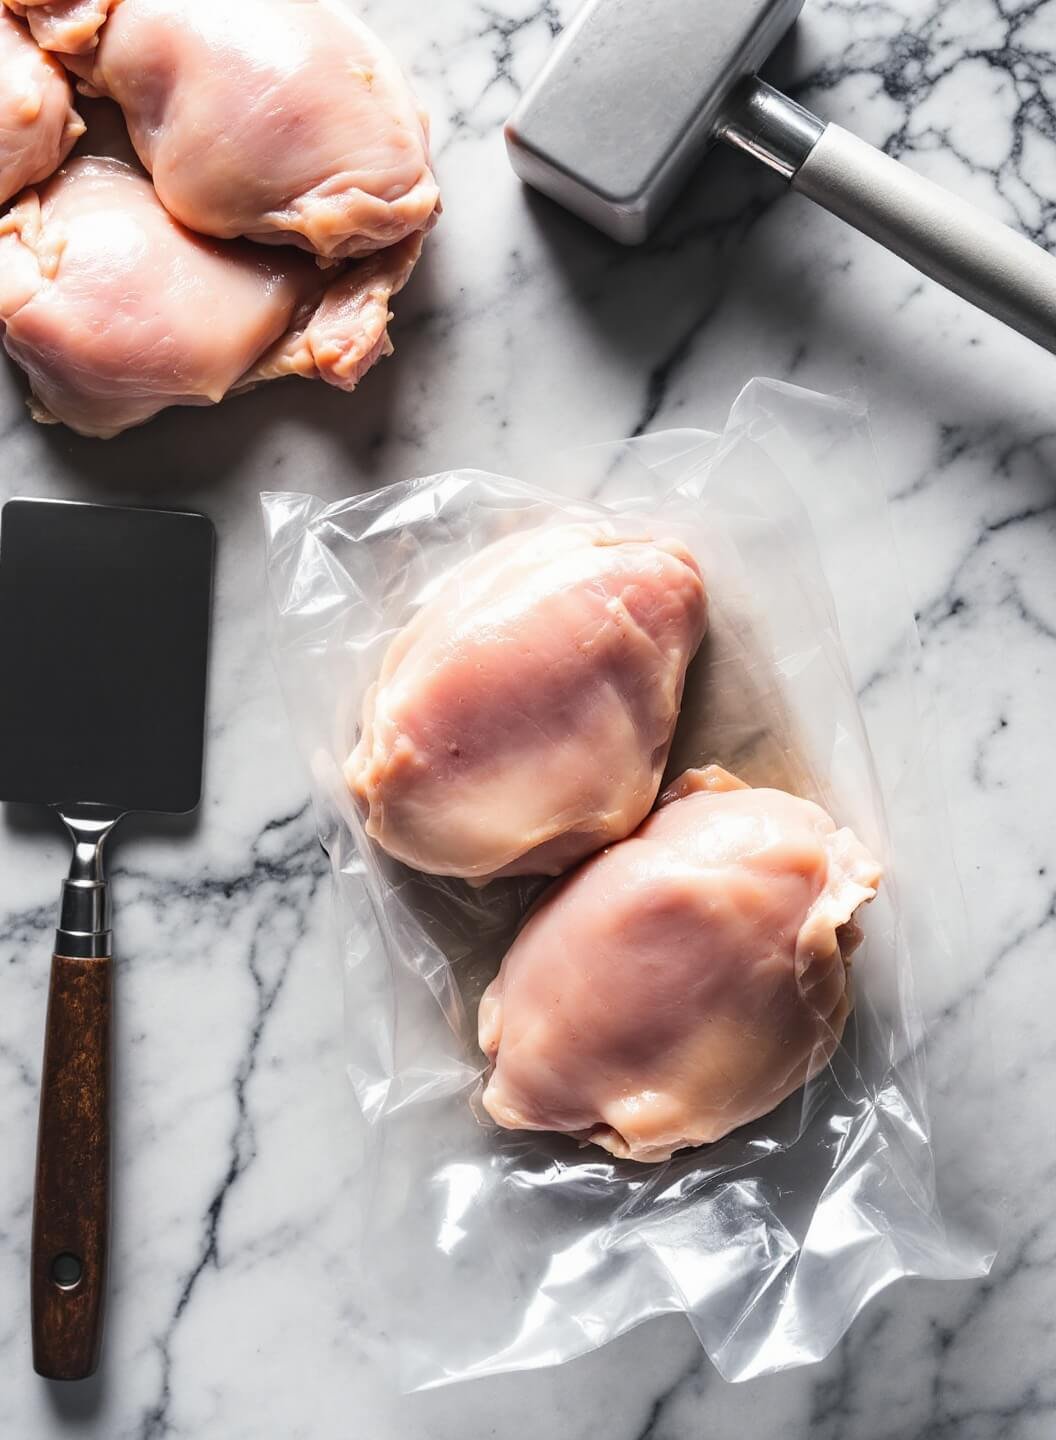
- Place chicken pieces between plastic wrap and pound to ½-inch thickness.
- Season flour with salt and pepper in a shallow dish.
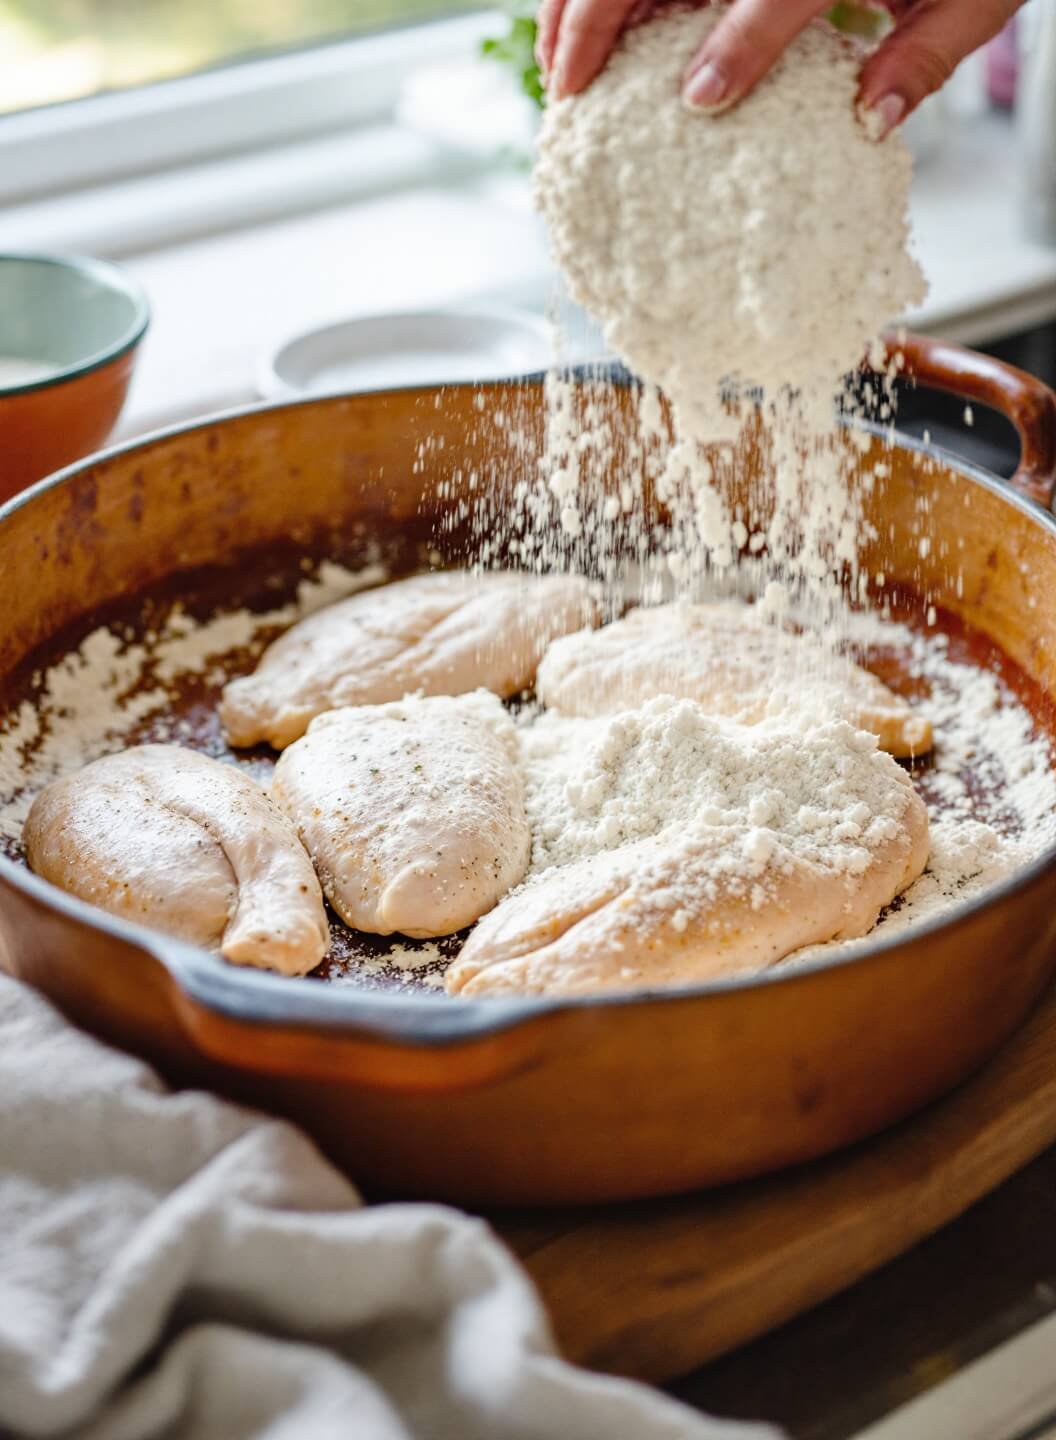
- Dredge chicken in seasoned flour, shaking off excess.
- Heat oil in skillet over medium-high heat (375°F/190°C).
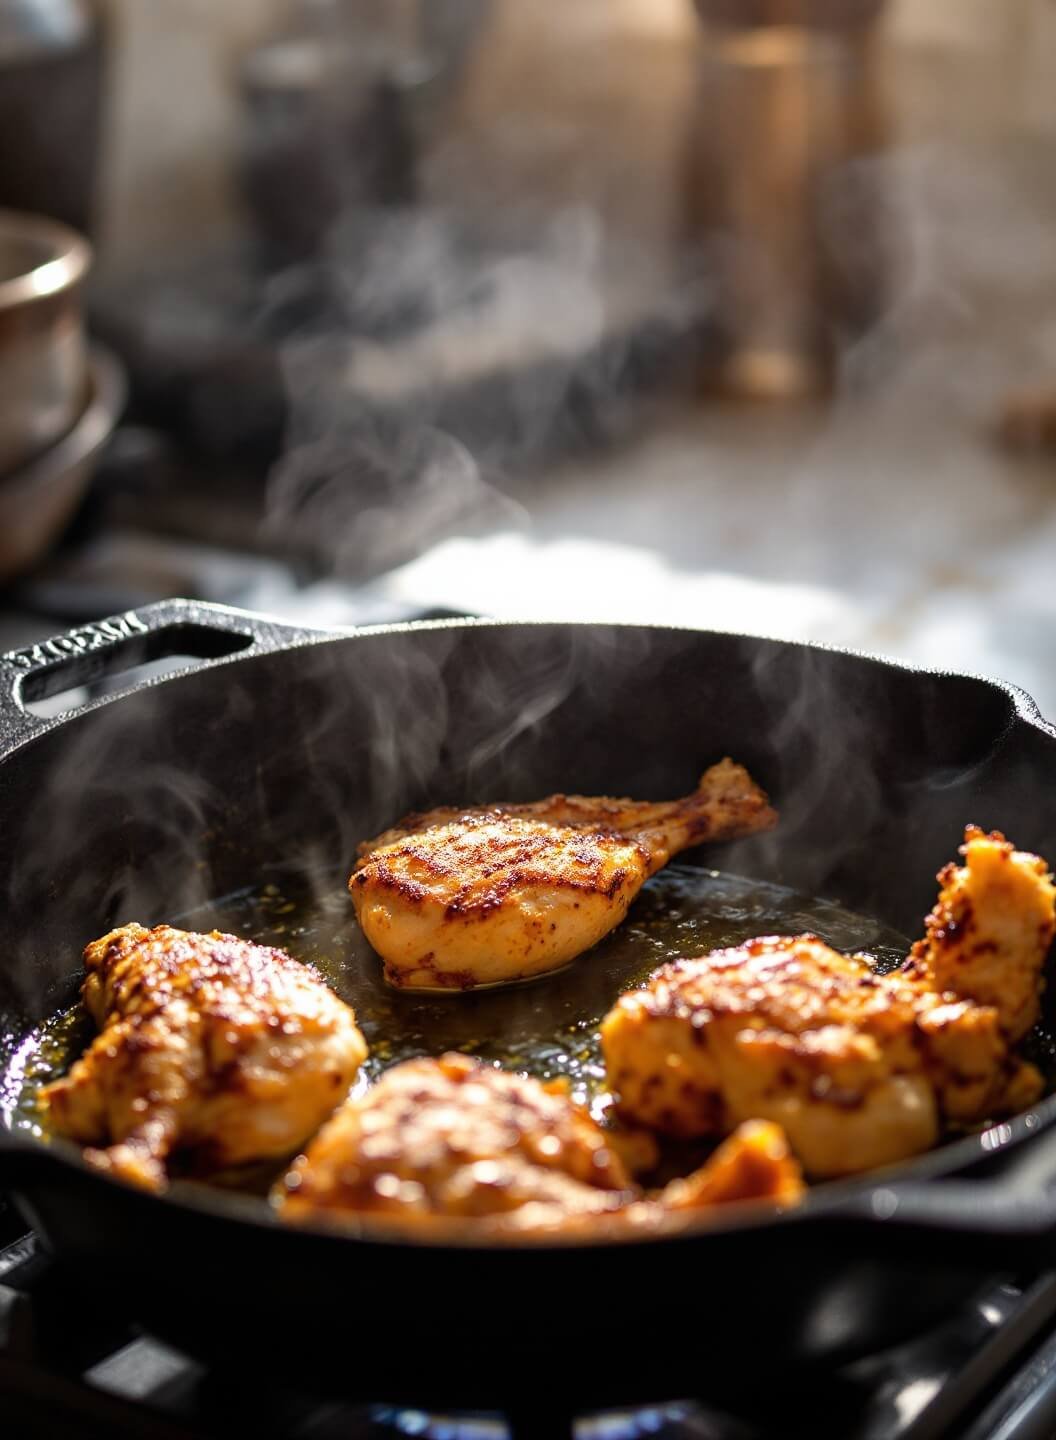
- Cook chicken for 4-5 minutes per side until golden brown and internal temperature reaches 165°F/74°C.
- Remove chicken to a plate and tent with foil.
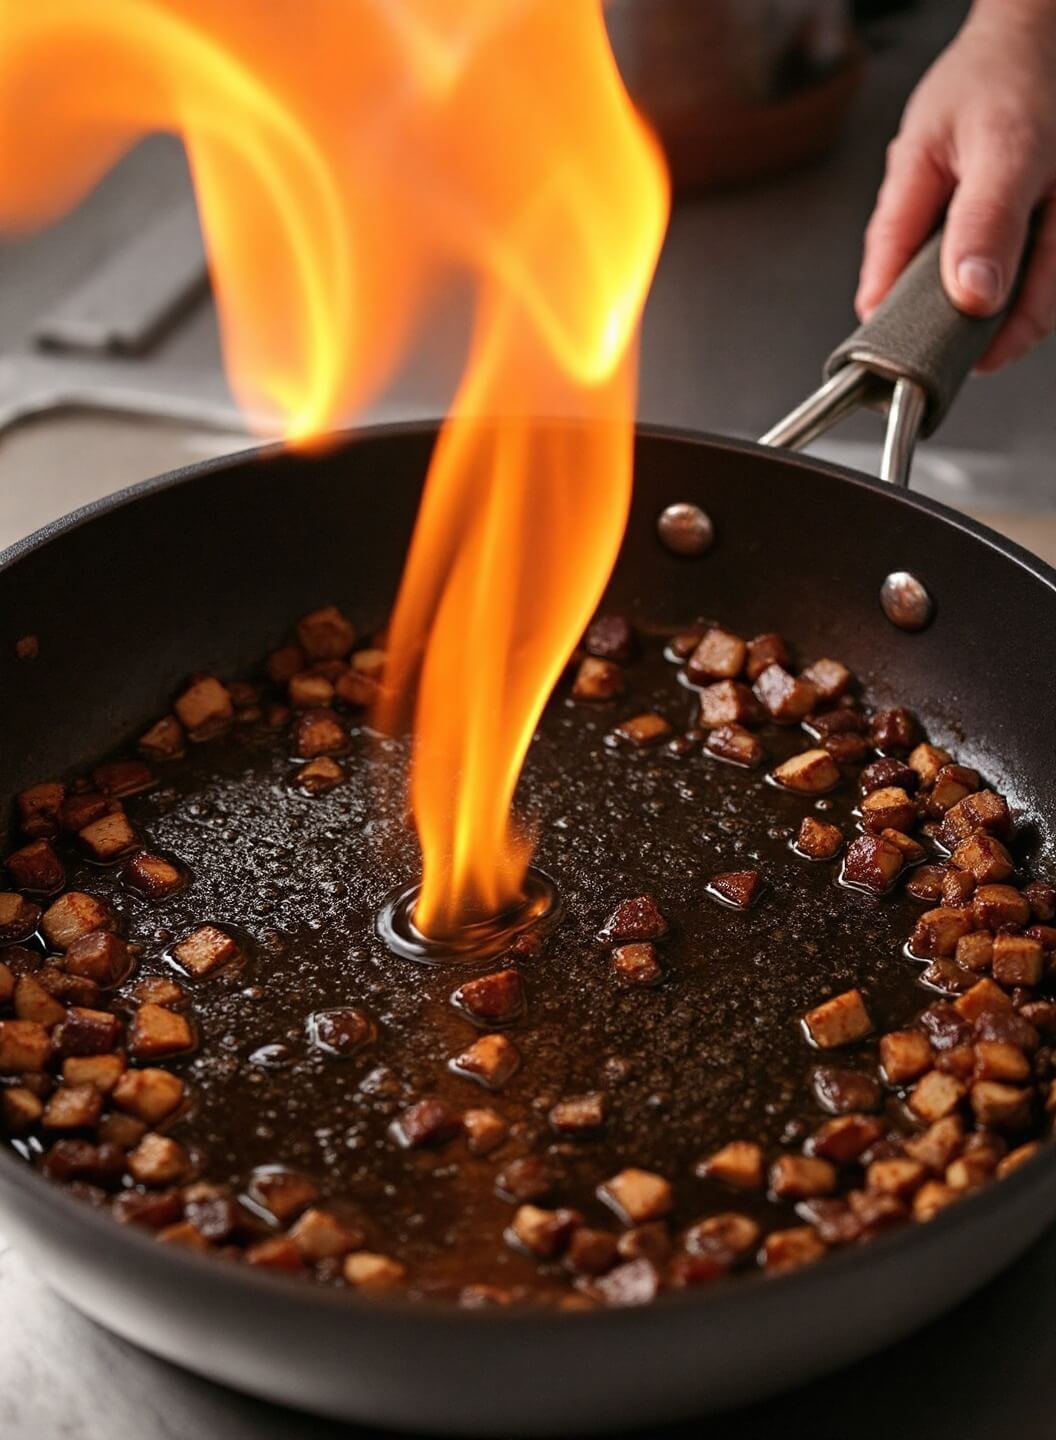
- In the same pan, melt 1 tablespoon butter and sauté shallots and garlic for 1 minute.
- Add wine, scraping up brown bits, and reduce by half (about 2 minutes).
- Add lemon juice and capers, simmer for 1 minute.
- Remove from heat, stir in remaining butter until sauce is silky.
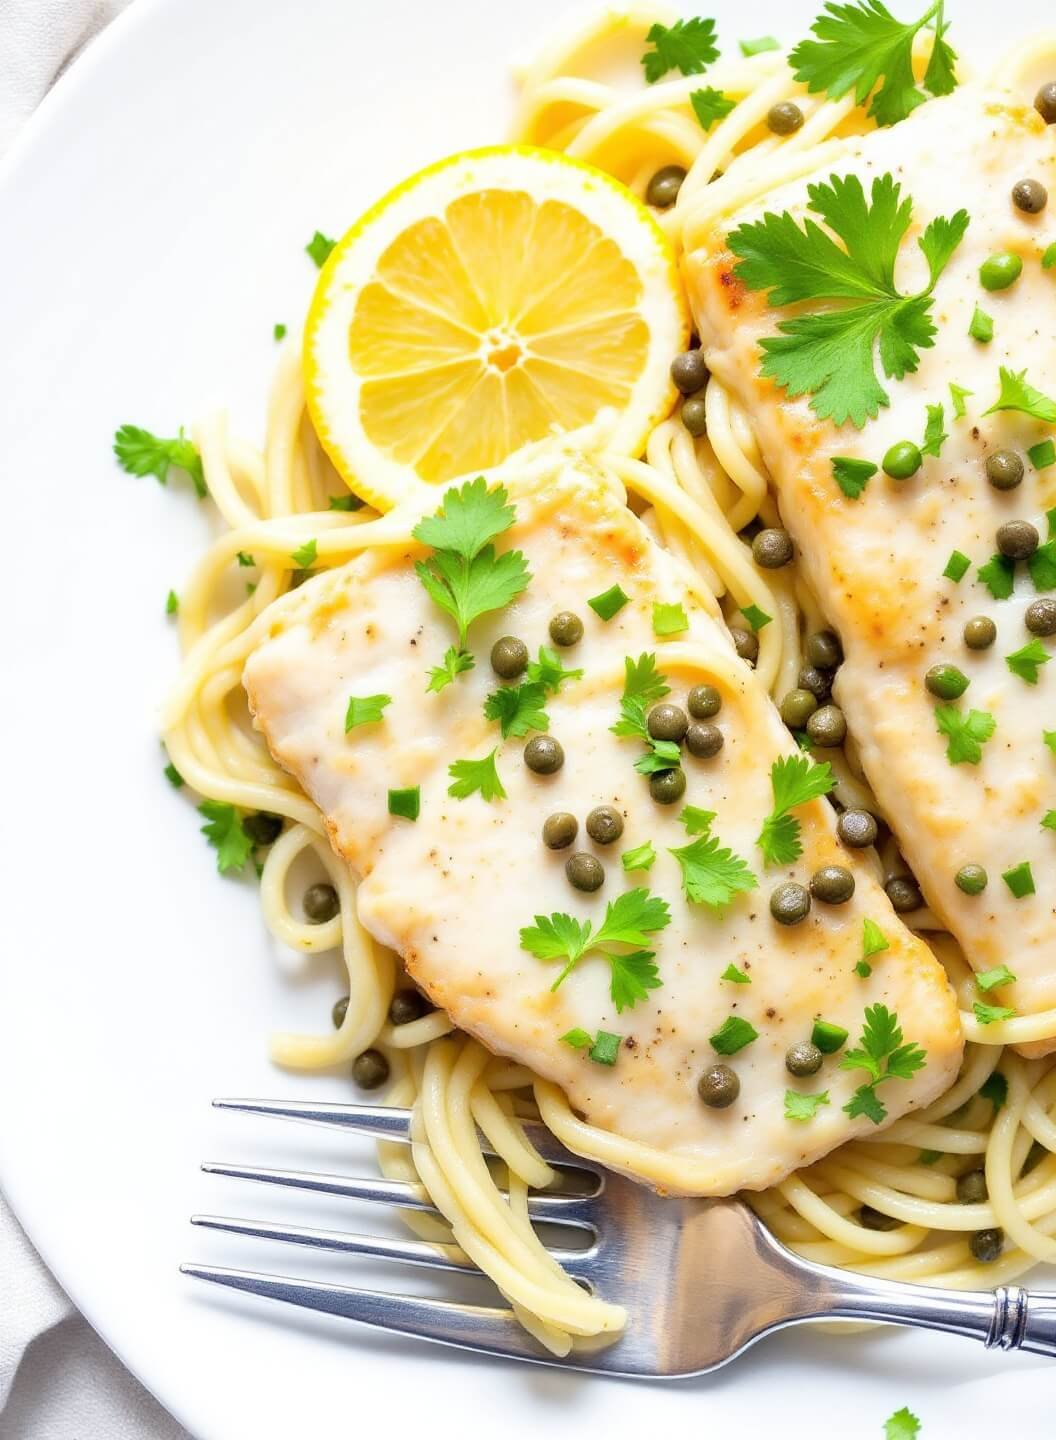
- Return chicken to pan, coat with sauce.
CRUCIAL TIPS
- Don’t overcrowd the pan when cooking chicken.
- Use room temperature butter for a silky sauce.
- Pat chicken dry before dredging.
- Never skip deglazing the pan – it’s where the flavor lives!
STORAGE & VARIATIONS
- Keeps refrigerated for 3 days.
- Freezes well for up to 2 months.
- Try with veal or pork cutlets.
- Add mushrooms or artichokes for variation.
The key to perfect piccata is balance – bright lemon, briny capers, and rich butter should all shine equally. Follow these steps exactly and you’ll have a restaurant-worthy dish that’s sure to impress!