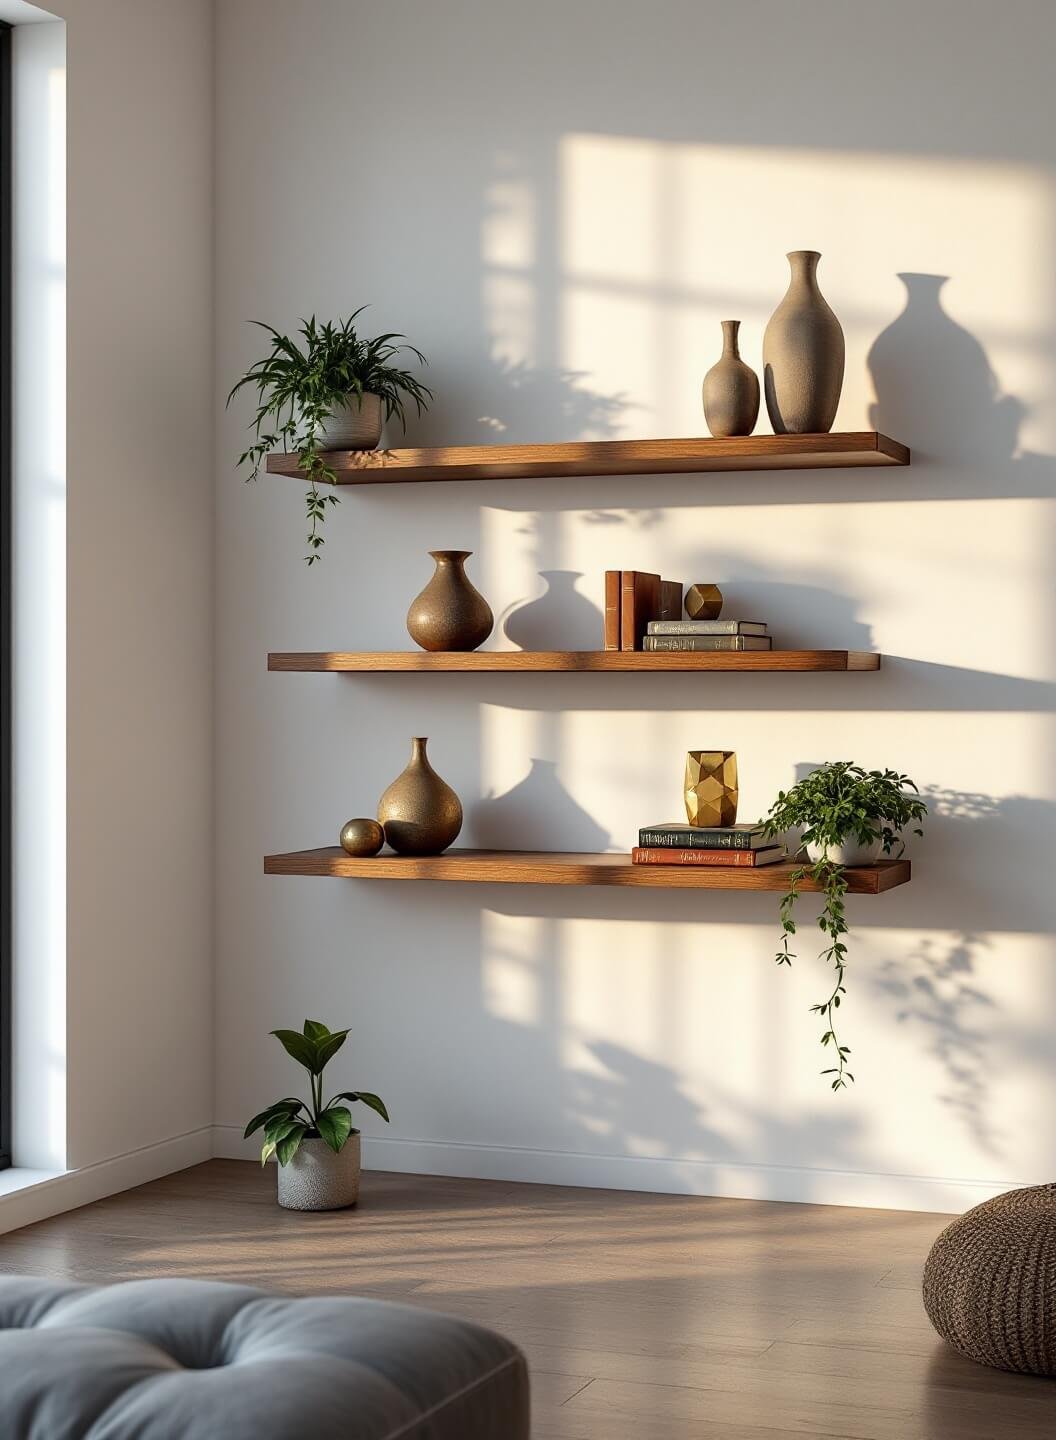
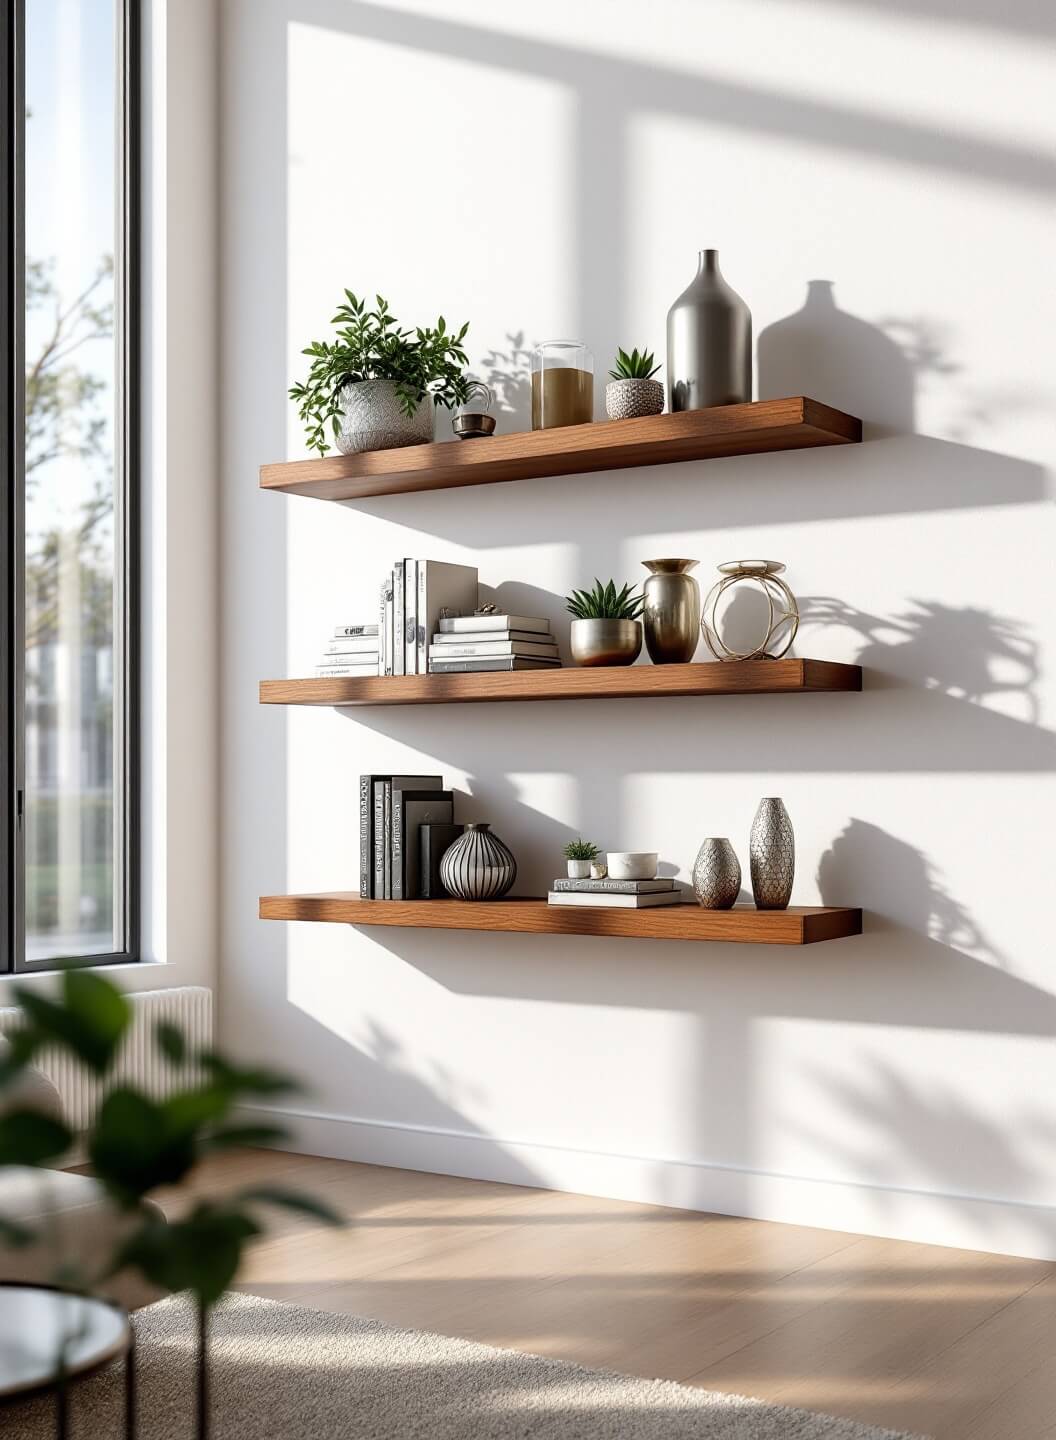
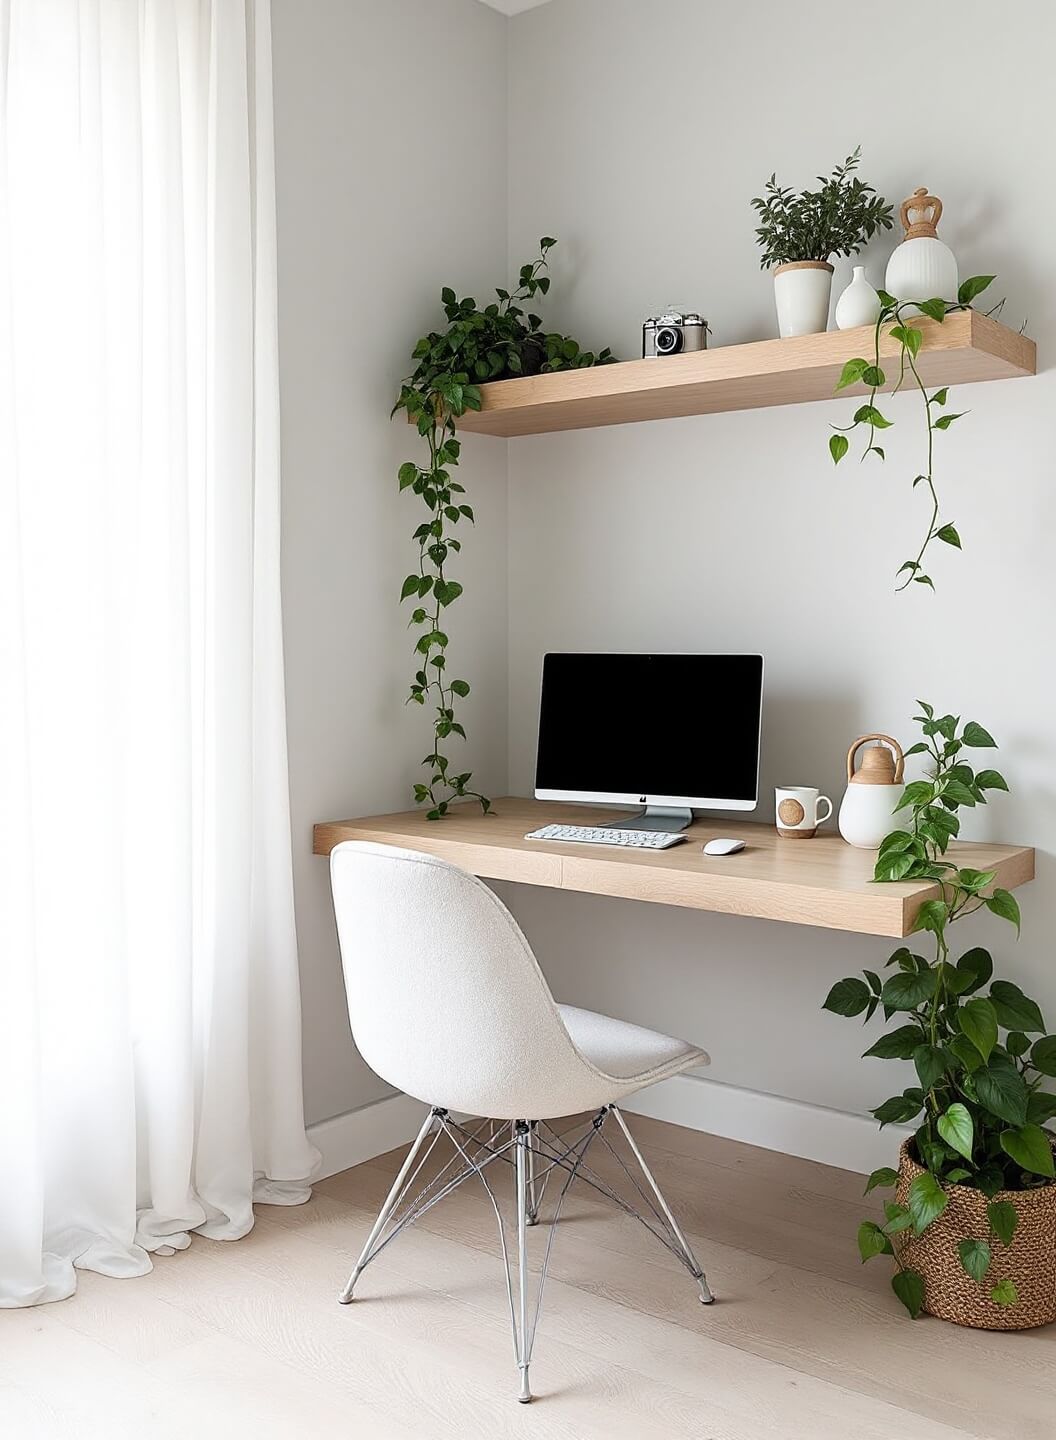
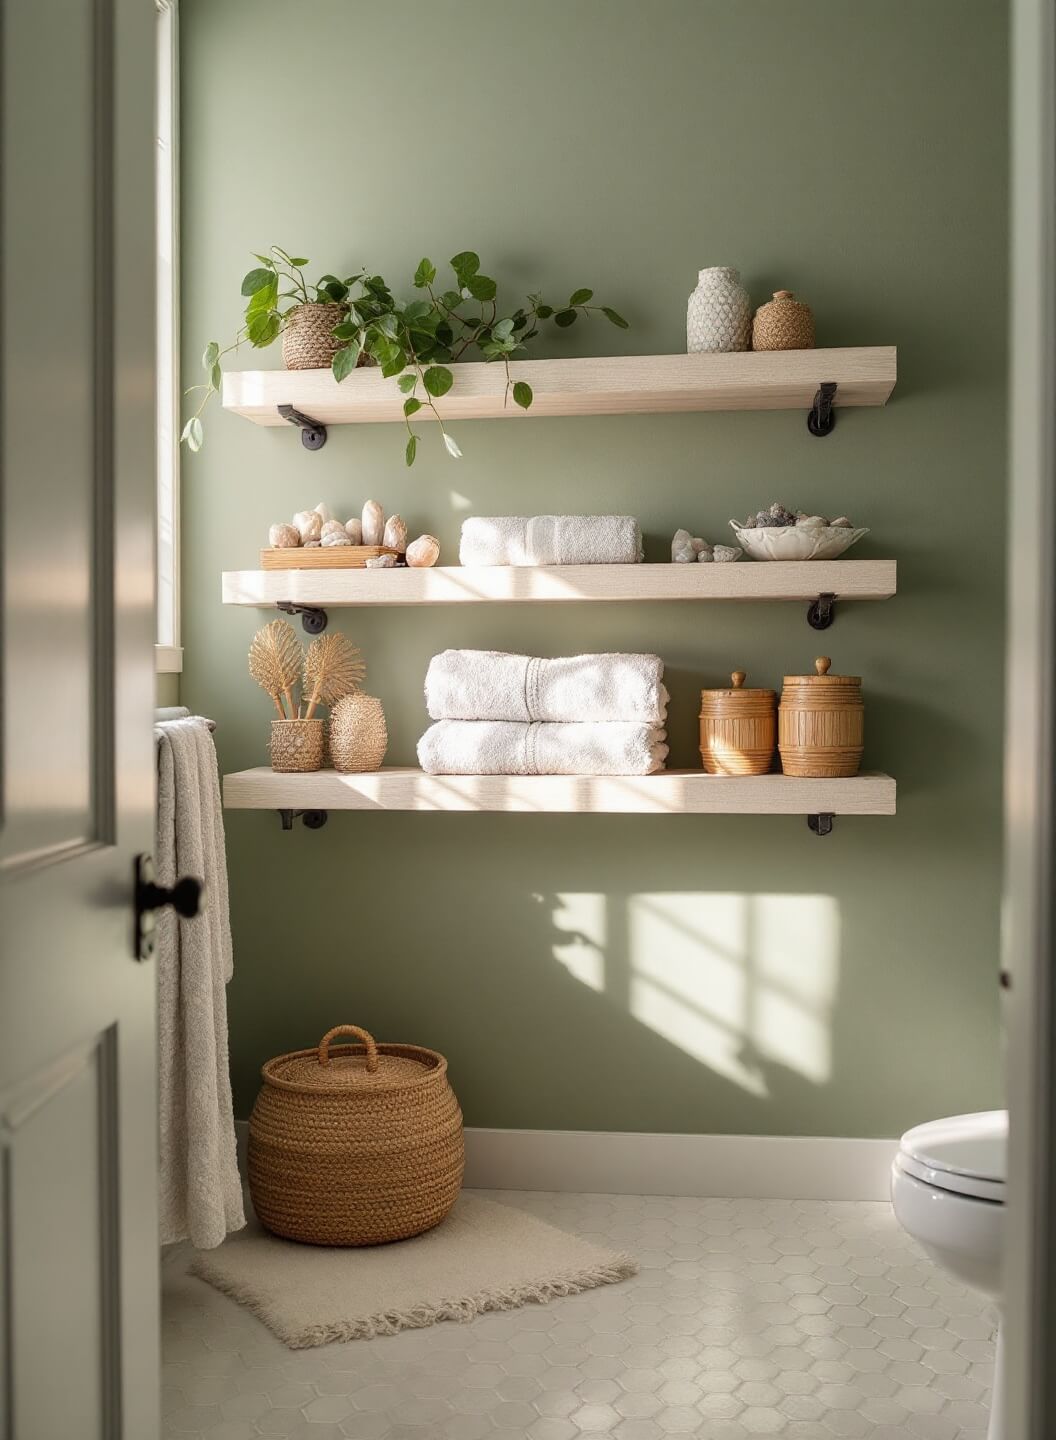
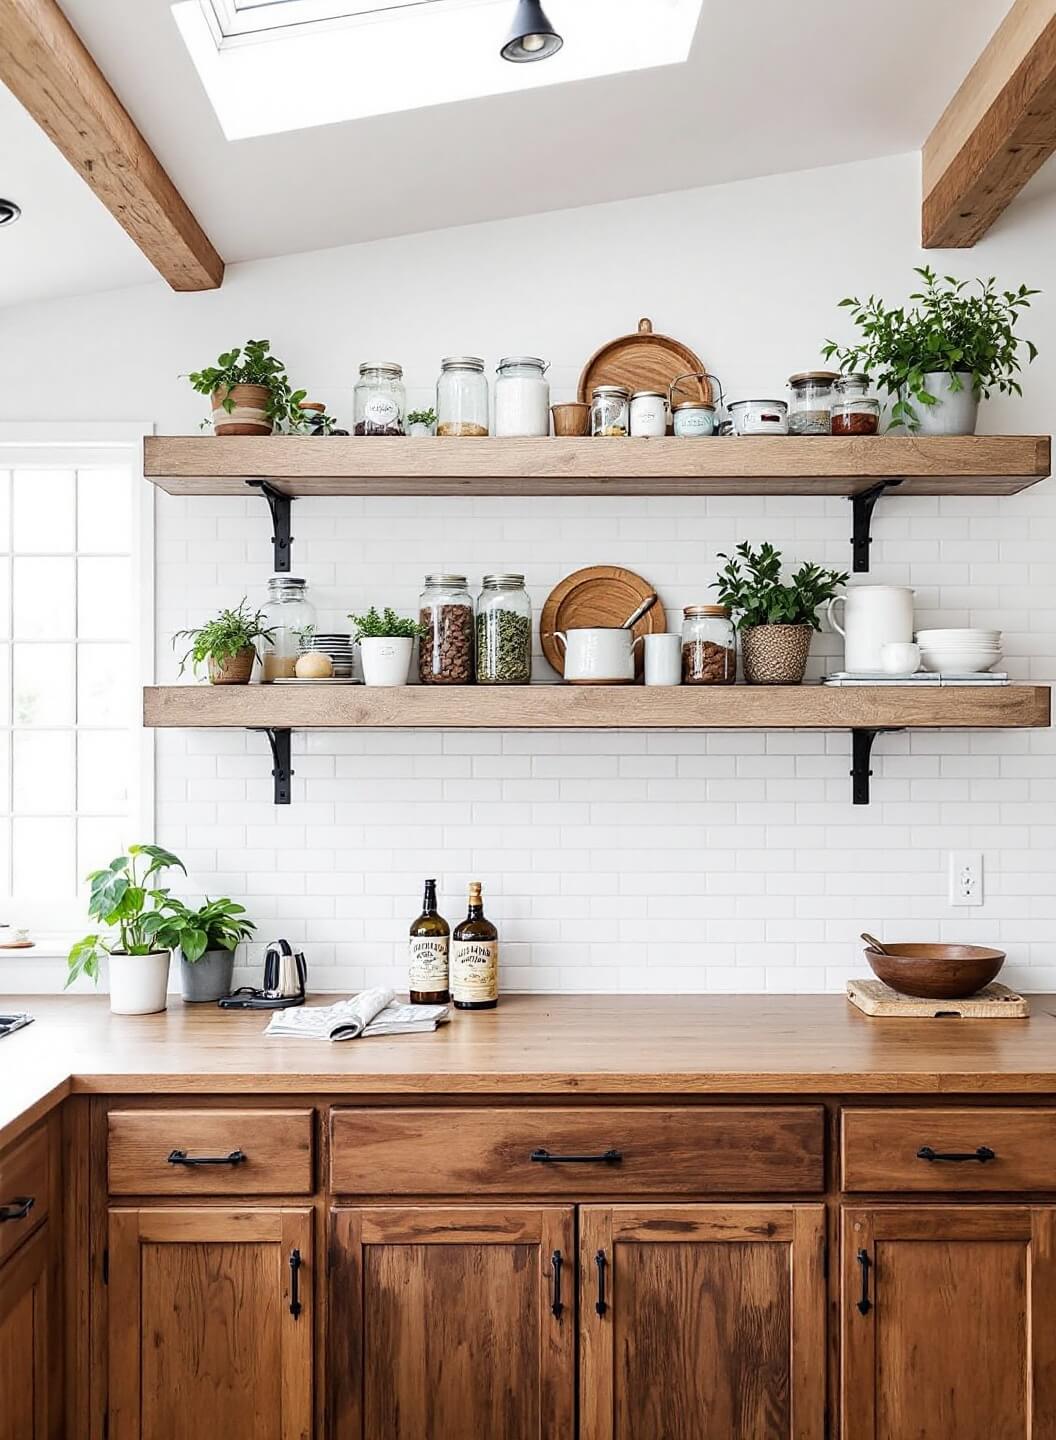
HOW TO CREATE STUNNING FLOATING SHELVES: A DIY GUIDE
Let me tell you – floating shelves aren’t just shelves. They’re game-changers for any room.
I’ve installed dozens of these beauties in homes across styles and budgets, and I’m here to share my fail-proof method.
WHAT YOU’LL NEED
The Hardware Heroes:
- 1×8 wooden boards (your shelf faces)
- 2x4s for support brackets
- Heavy-duty wood screws
- Wall anchors
- Level
- Stud finder
- Power drill
- Measuring tape
- Pencil
STEP 1: PLANNING YOUR SHELF ATTACK
First things first – let’s get real about placement.
Don’t just eyeball it! Measure twice, drill once is my golden rule.
Mark your desired height and width with painter’s tape to visualize the final look.
Pro Tip: Always, always check for studs. They’re your shelf’s best friends.

STEP 2: CRAFTING YOUR SUPPORT SYSTEM
This is where the magic happens:
- Cut your 2x4s into three pieces:
- One back piece (wall length)
- Two side pieces (shelf depth)
- Create your E-shaped bracket by:
- Attaching side pieces to the back piece
- Ensuring everything’s square and level

STEP 3: MOUNTING THE BRACKETS
Here’s where most DIYers mess up – don’t be them!
- Find and mark your studs
- Pre-drill your holes
- Secure bracket with 3-inch screws
- Check for level after EVERY screw
STEP 4: BUILDING YOUR SHELF FACE
Time to make it pretty:
- Cut your 1×8 to size
- Sand edges smooth
- Stain or paint (if desired)
- Let it dry completely
STEP 5: THE GRAND FINALE
Slide your shelf face over the bracket and secure with small screws from underneath.
COMMON MISTAKES TO AVOID
- Skipping the stud finder
- Using lightweight screws
- Forgetting to level
- Rushing the process
WEIGHT LIMITS
Rule of thumb: For every stud you hit, add 20-30 pounds of capacity.
Got questions? Drop them below. I’ve seen every floating shelf disaster possible and can help you avoid them all!
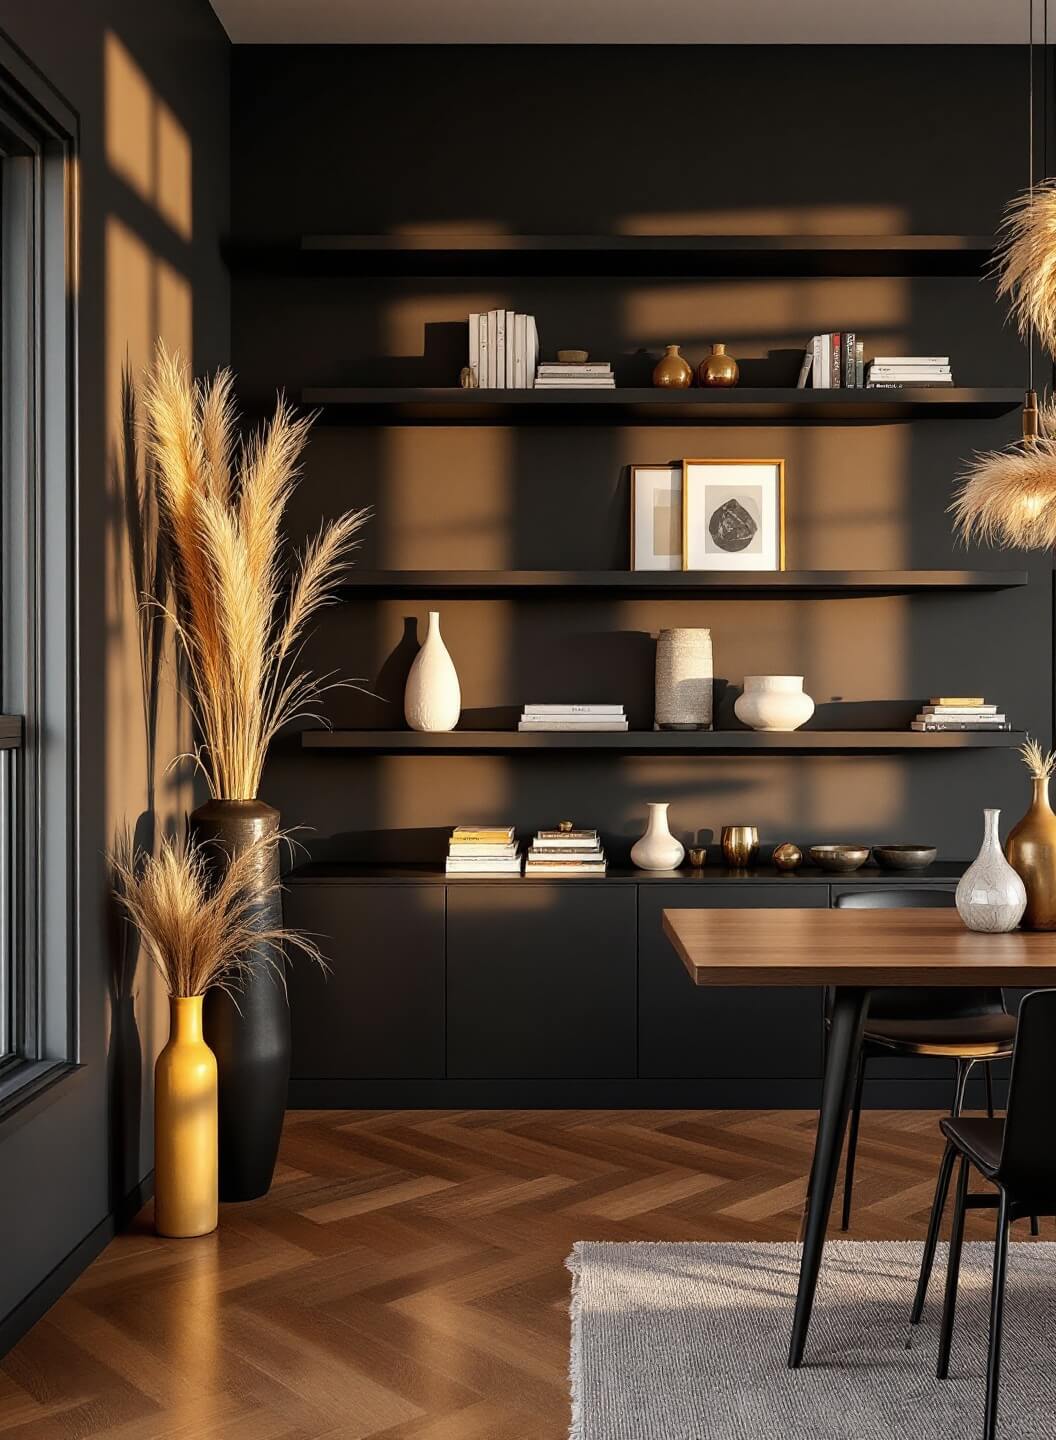
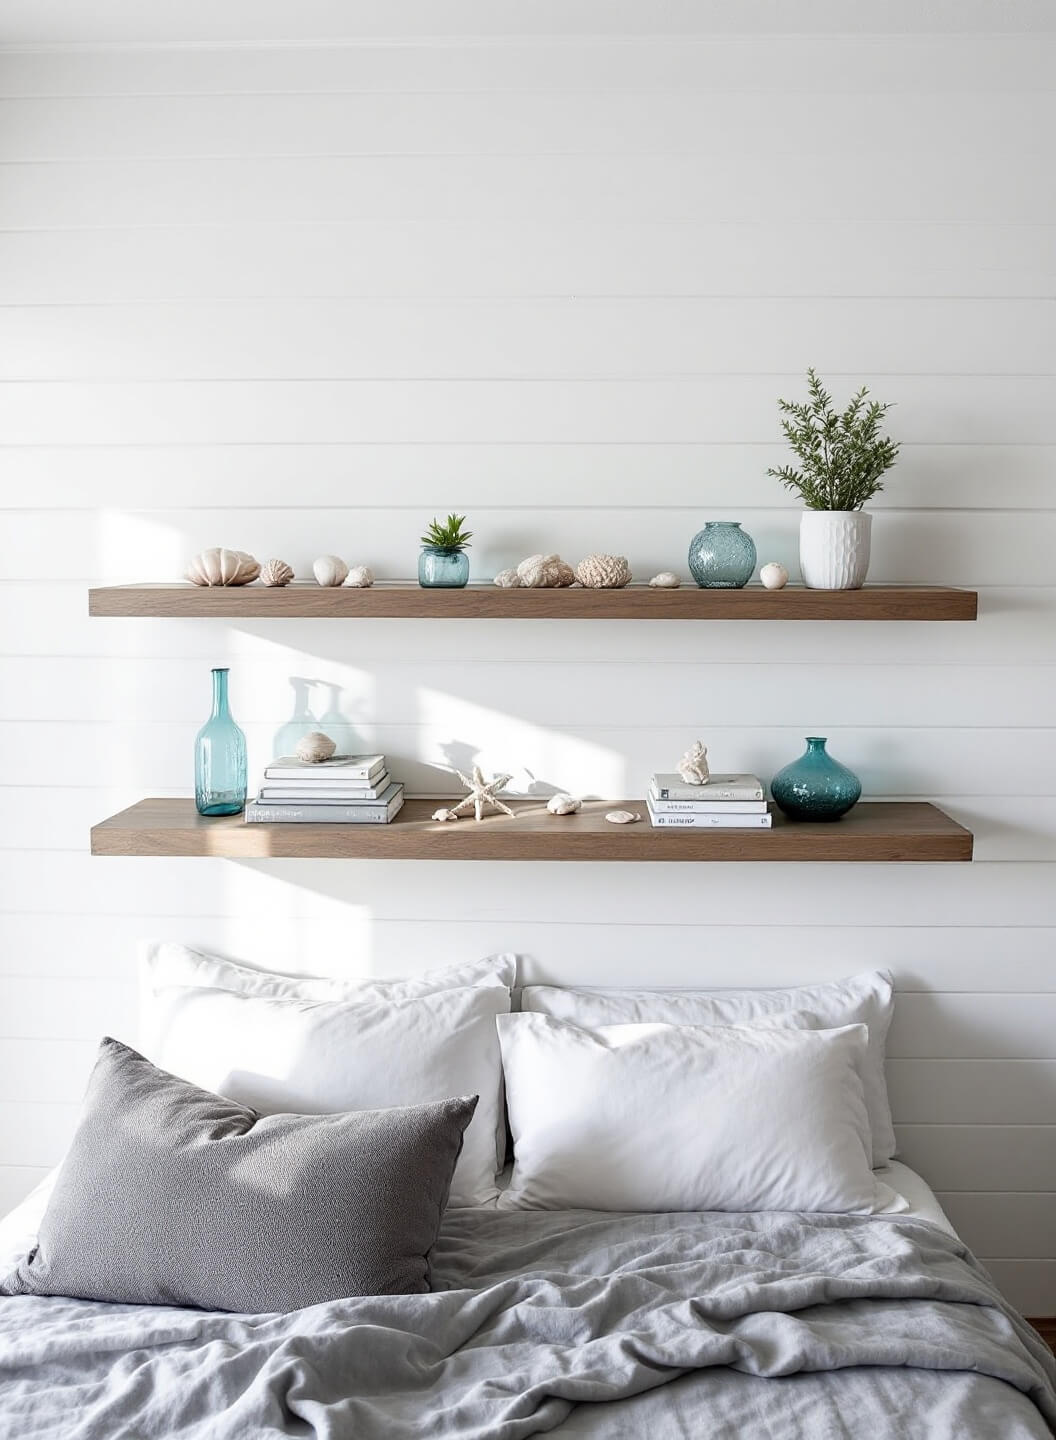
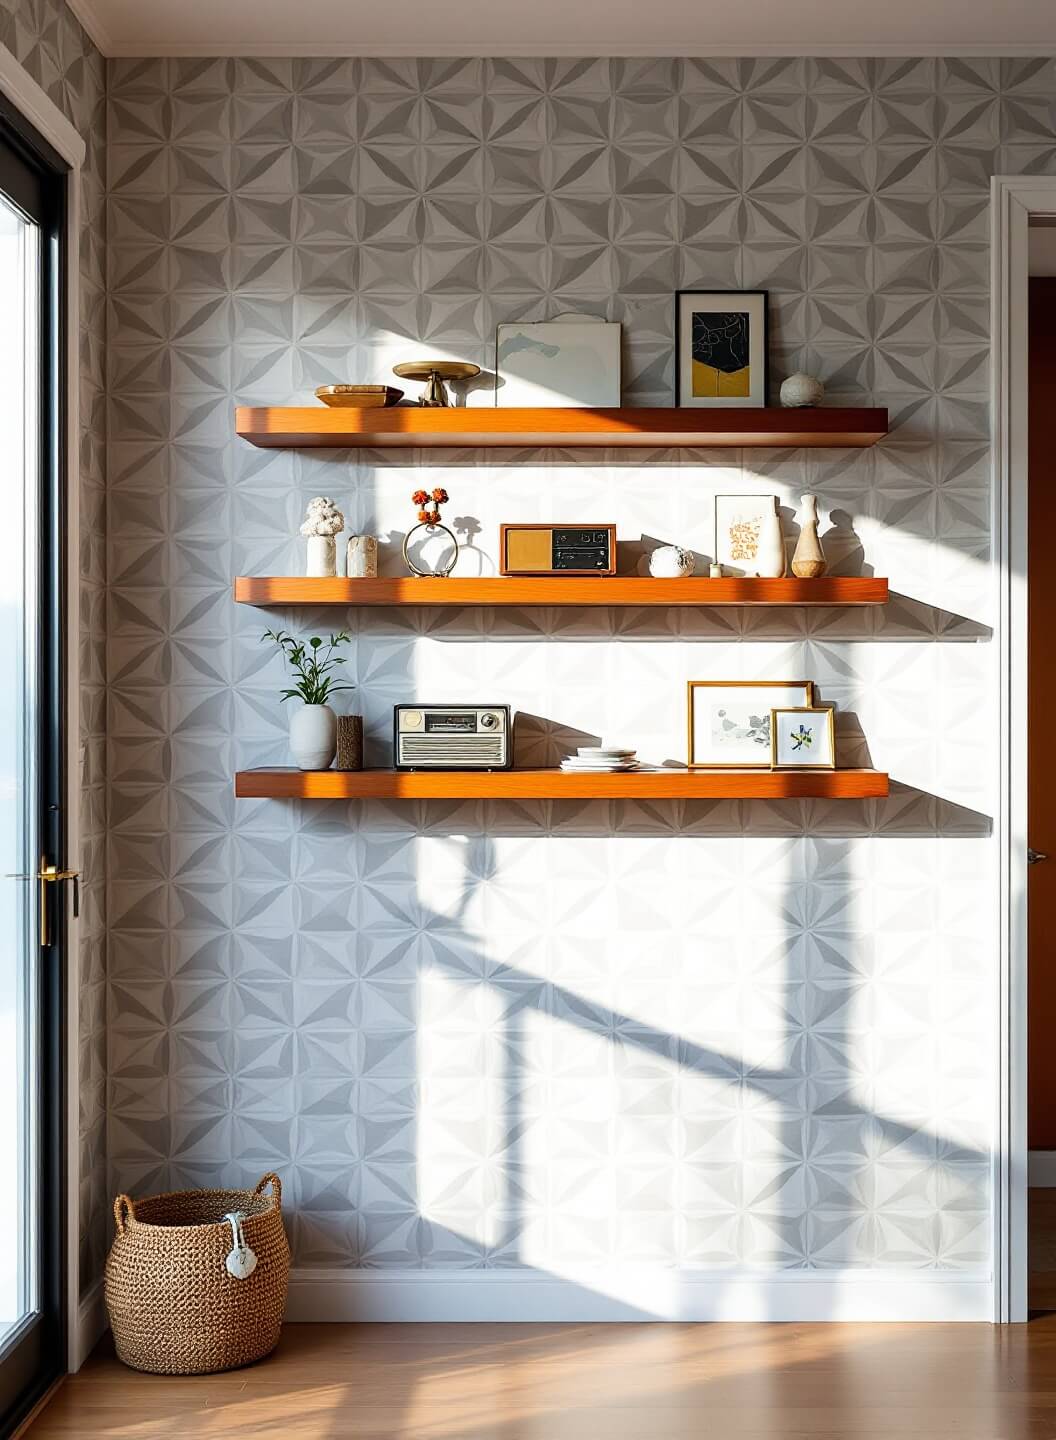
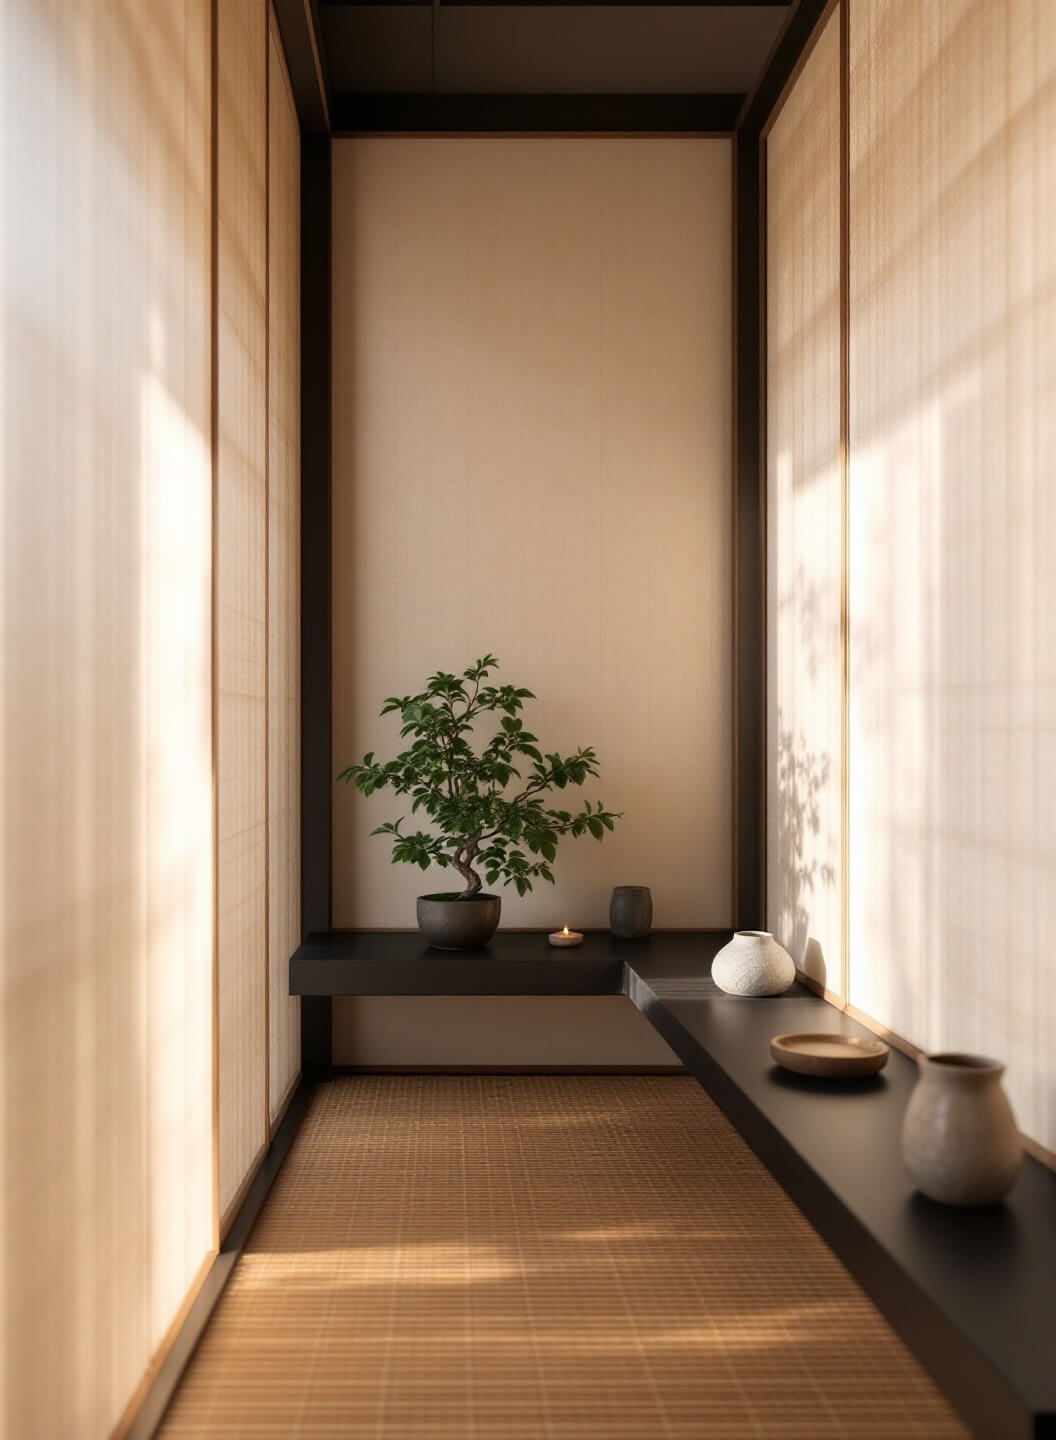
Remember: A well-installed floating shelf isn’t just storage – it’s a statement piece that looks like it’s defying gravity.
Now go forth and float those shelves!